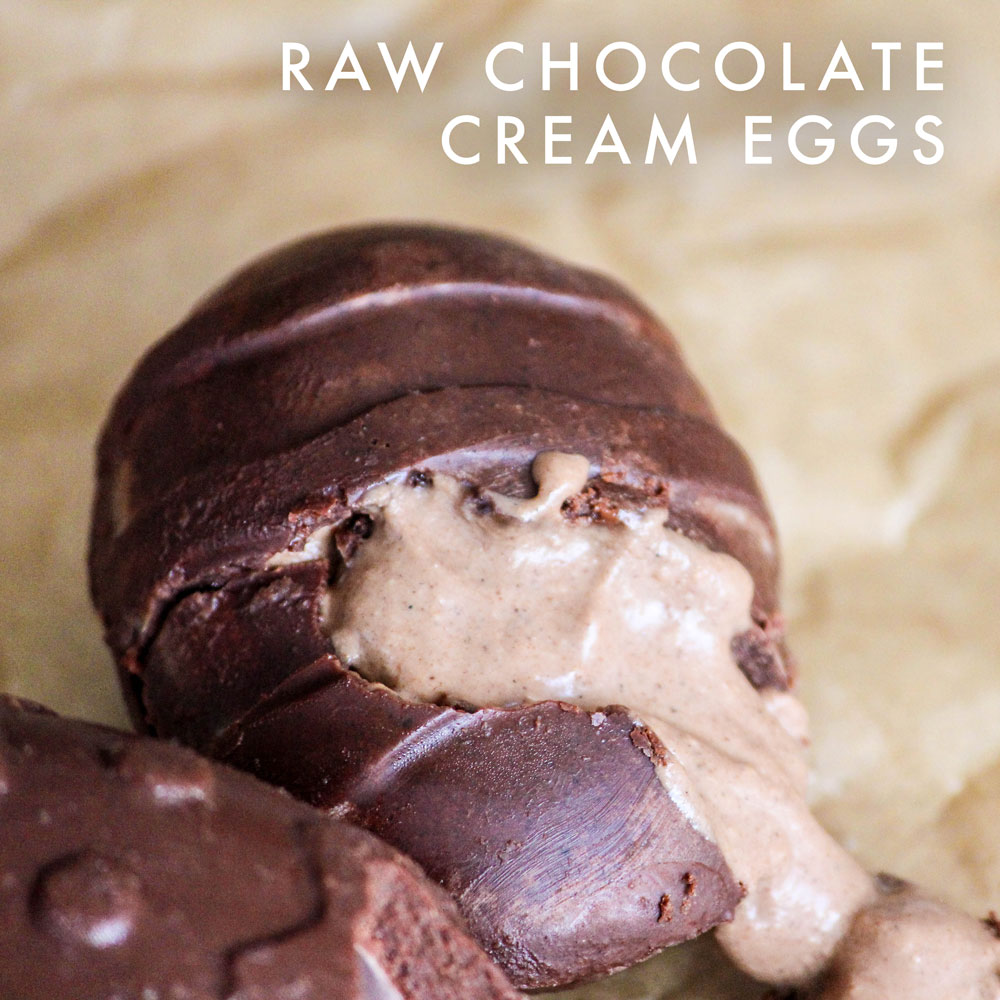
Raw Chocolate Cream Eggs
Now you might hear a few people say that making your own easter eggs is a pain in the backside.
But really – it’s actually pretty easy… & a lot of fun too! Especially if you get to lick the bowl 😉
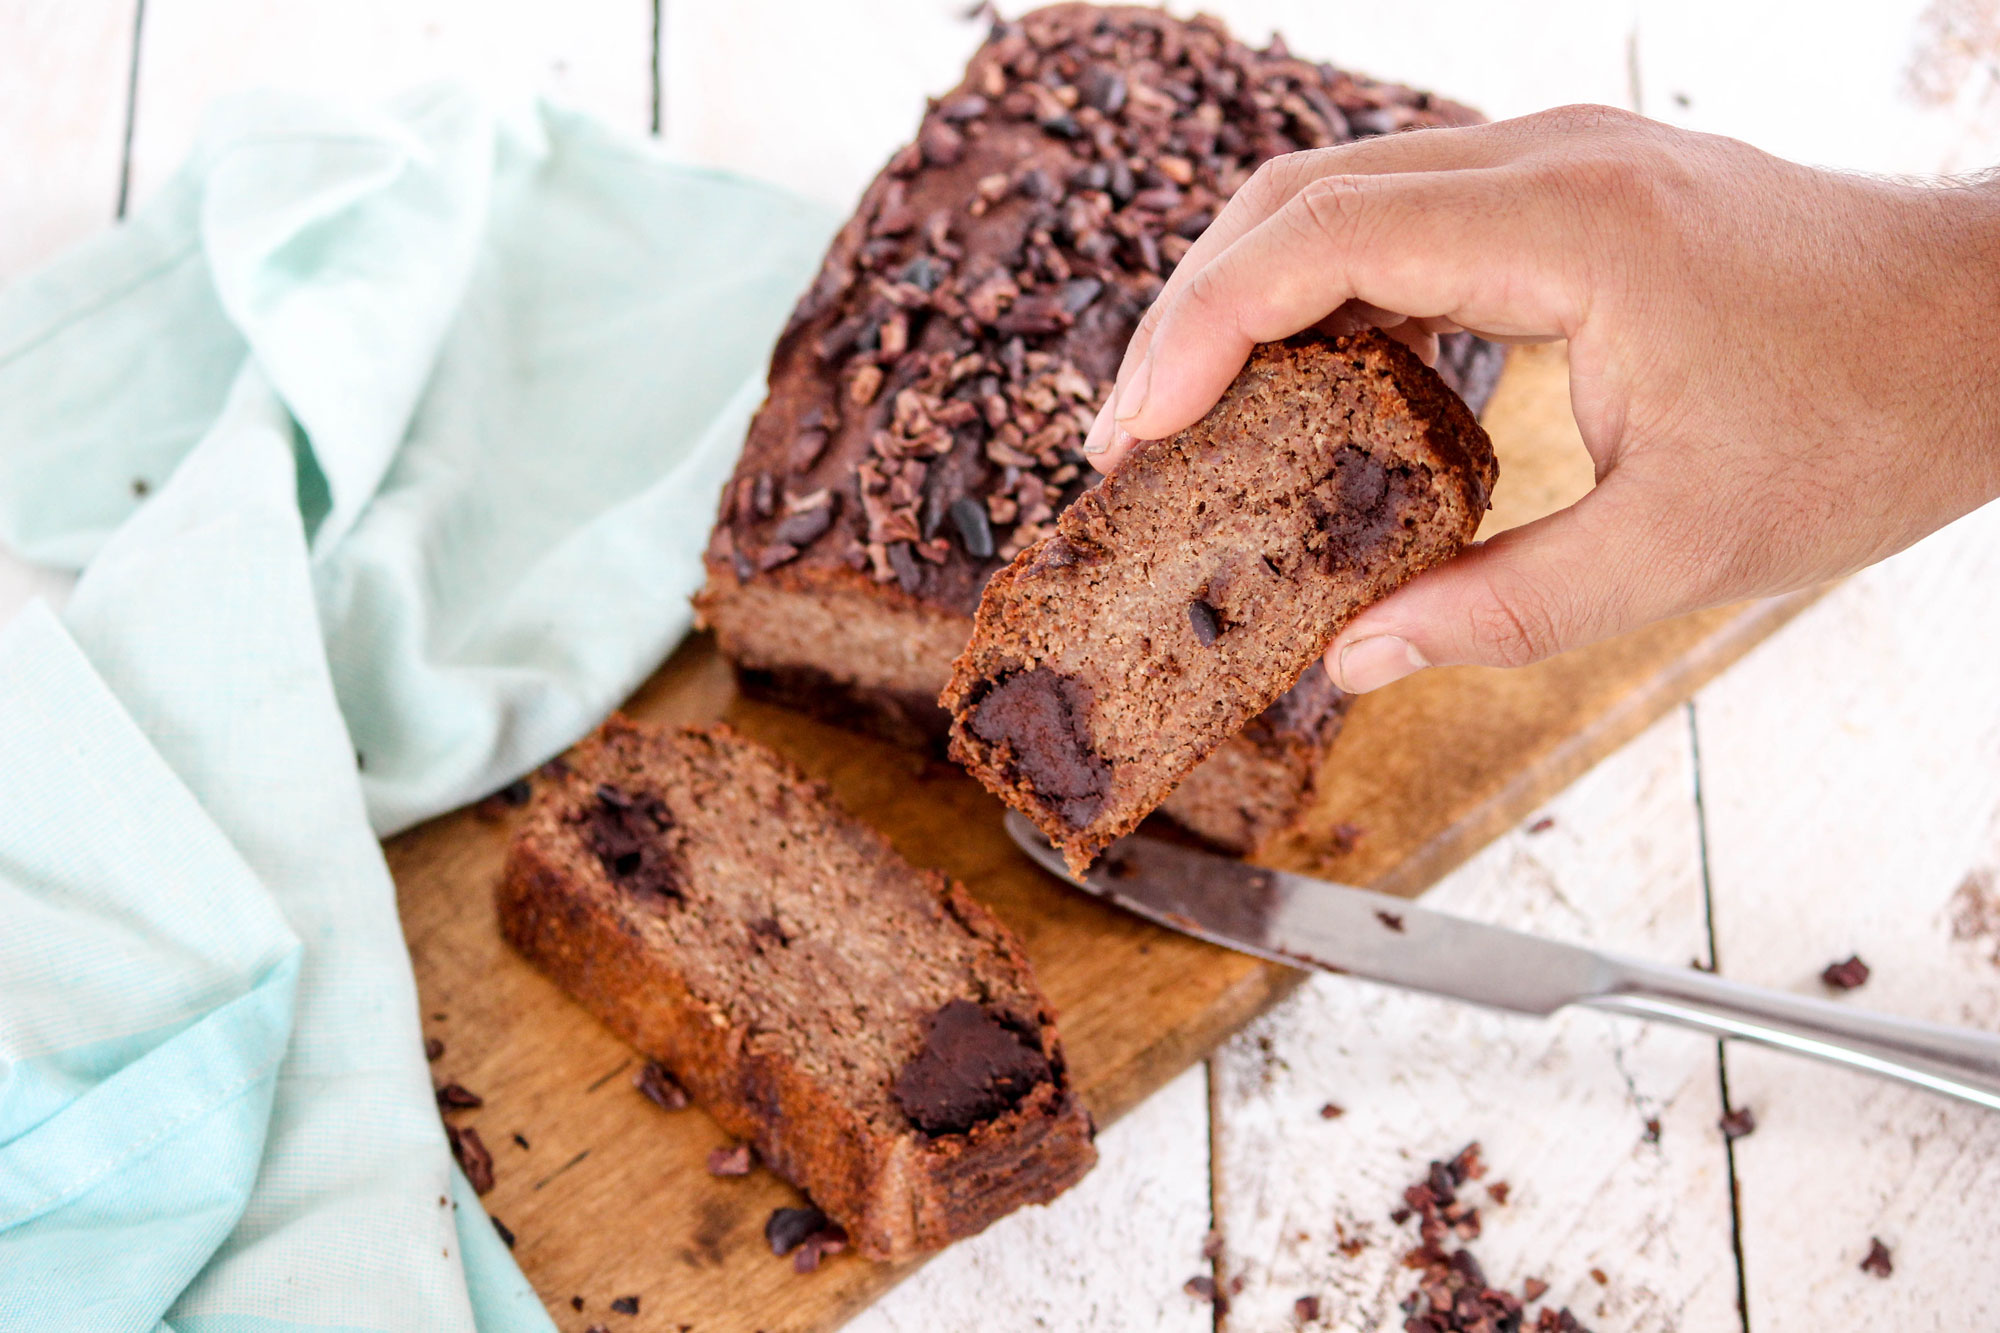
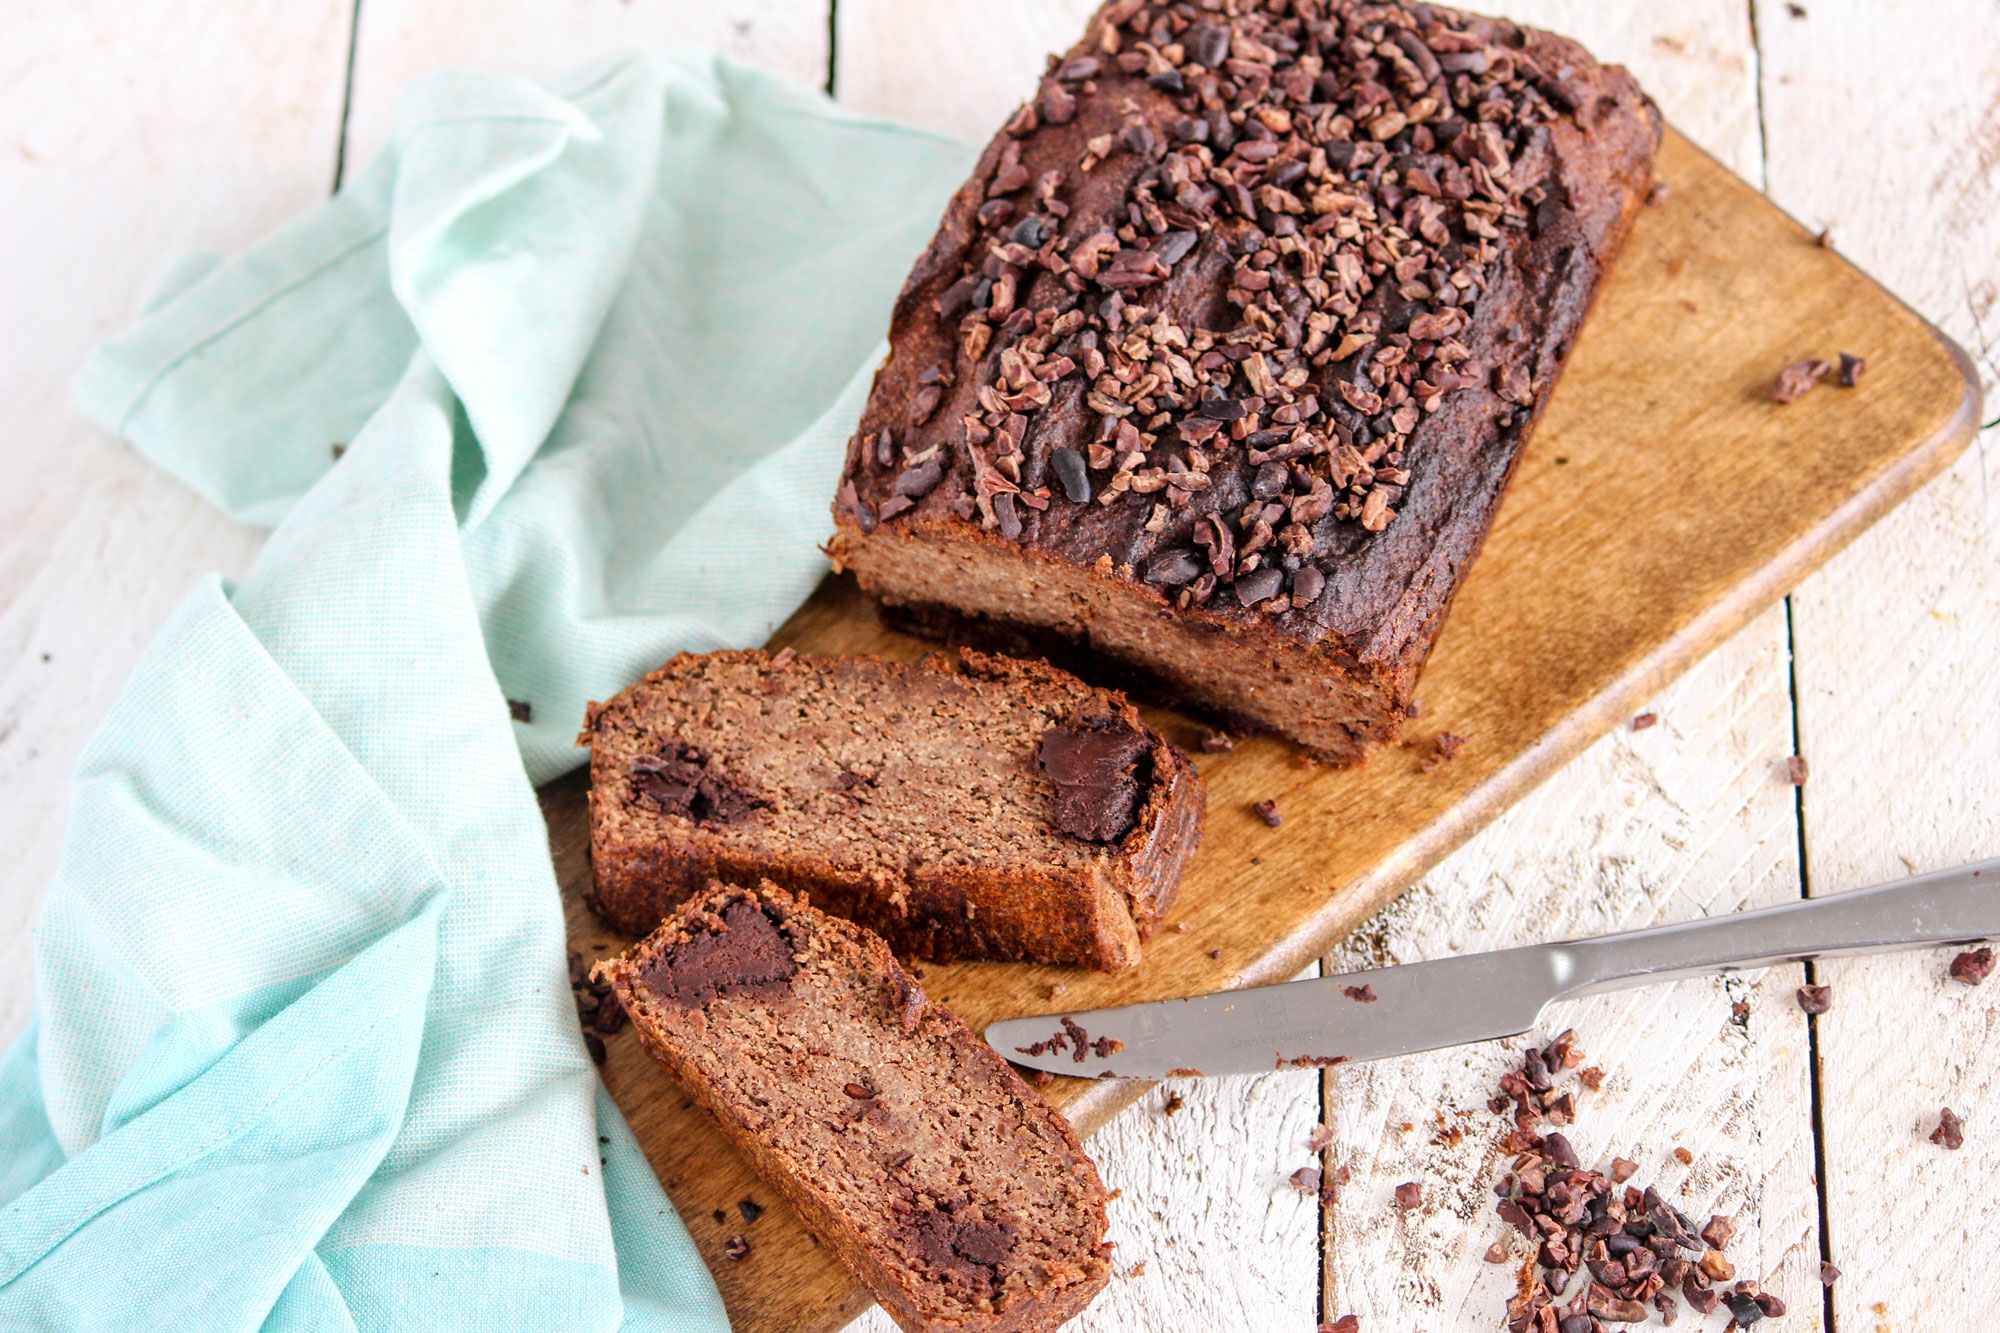
And the end result… beautiful, creamy & deliciously healthy easter eggs!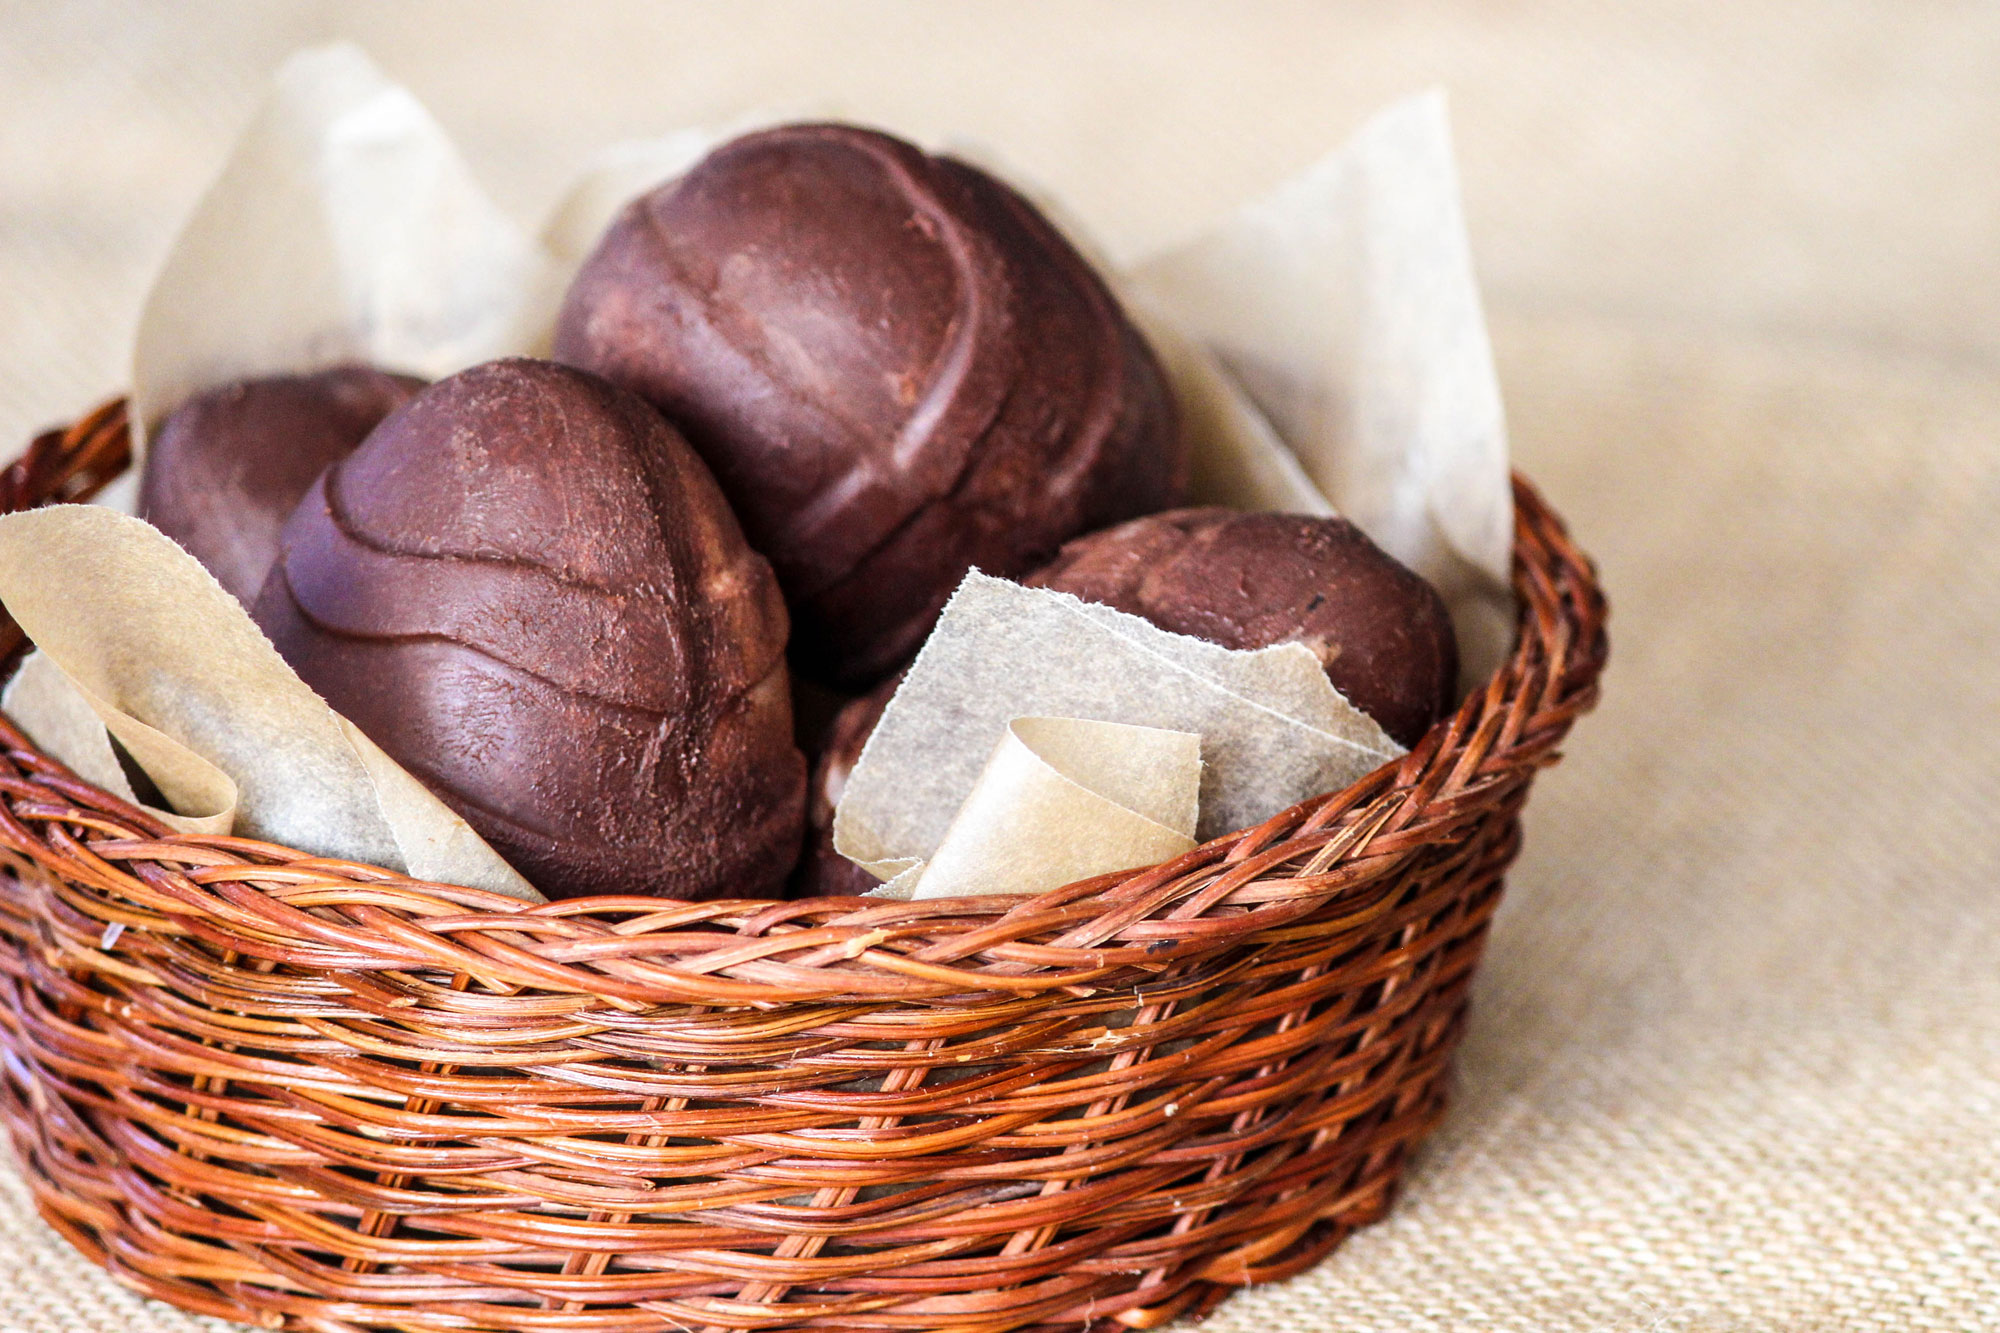
Because one of the main ingredients is coconut oil, the chocolate starts to melt when under heat – so it’s really easy to shape it with your hands… it can a bit fiddly though!
Also, because raw chocolate does melt easier then normal chocolate, you’ll need to keep them in the fridge until you’re ready to eat them.
Apart from that it’s pretty smooth sailing!
Alright – let’s get to the recipe!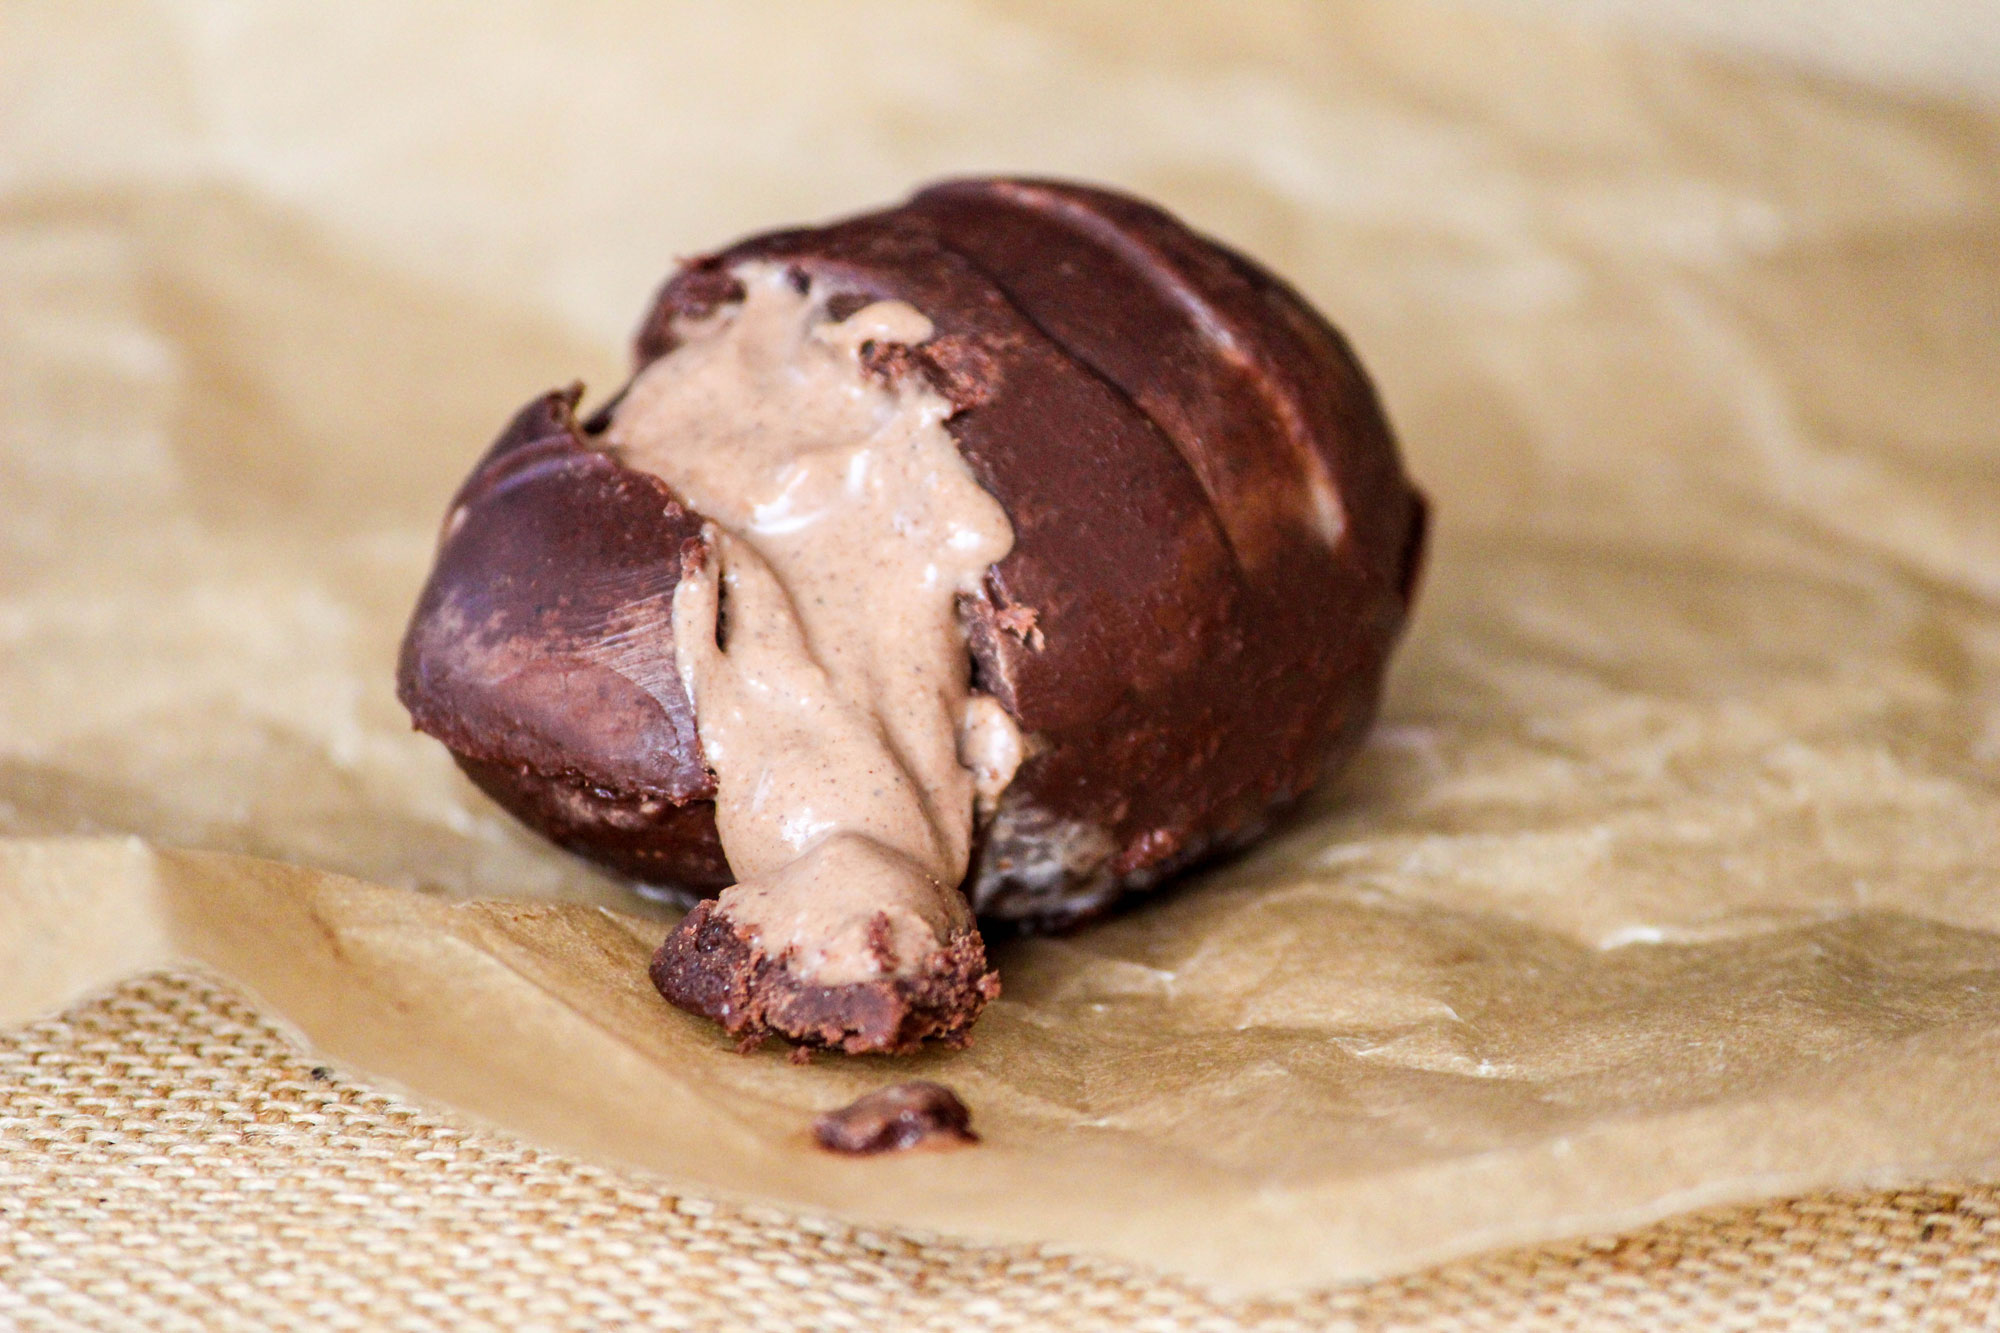
Raw Chocolate Cream Eggs:
Ingredients
250ml of raw chocolate (recipe here)
2 sets of medium silicone easter egg moulds (I purchased mine from spotlight for 10 bucks, & there are 6 half-egg moulds per set)
1/4 cup Cashews
1/2 cup Coconut Cream
1 Tbsp. Raw Honey
1/8 cup Raw Cacao
1/4 Tsp. Vanilla Bean Powder
Method
The easter egg shells
Once you have whizzed up your raw chocolate in the blender (following our raw chocolate recipe here), pour the chocolate into the first set of moulds all the way up to the very top. Carefully place in the fridge.
Refrigerate for around 30 minutes so that the chocolate has hardened around the outside, but is still slightly gooey in the middle.
Evenly scoop out the gooey insides with a spoon so you are left with a nice thick easter egg shell (around 2-3mm).
Place the gooey remains back into the blender and whizz until silky smooth again.
Pour into the next set of moulds and repeat process but this time you can eat the gooey remains 🙂
At this stage, all easter eggs (half eggs) should be hollowed, sitting in their moulds, & chilling in the fridge.
The filling
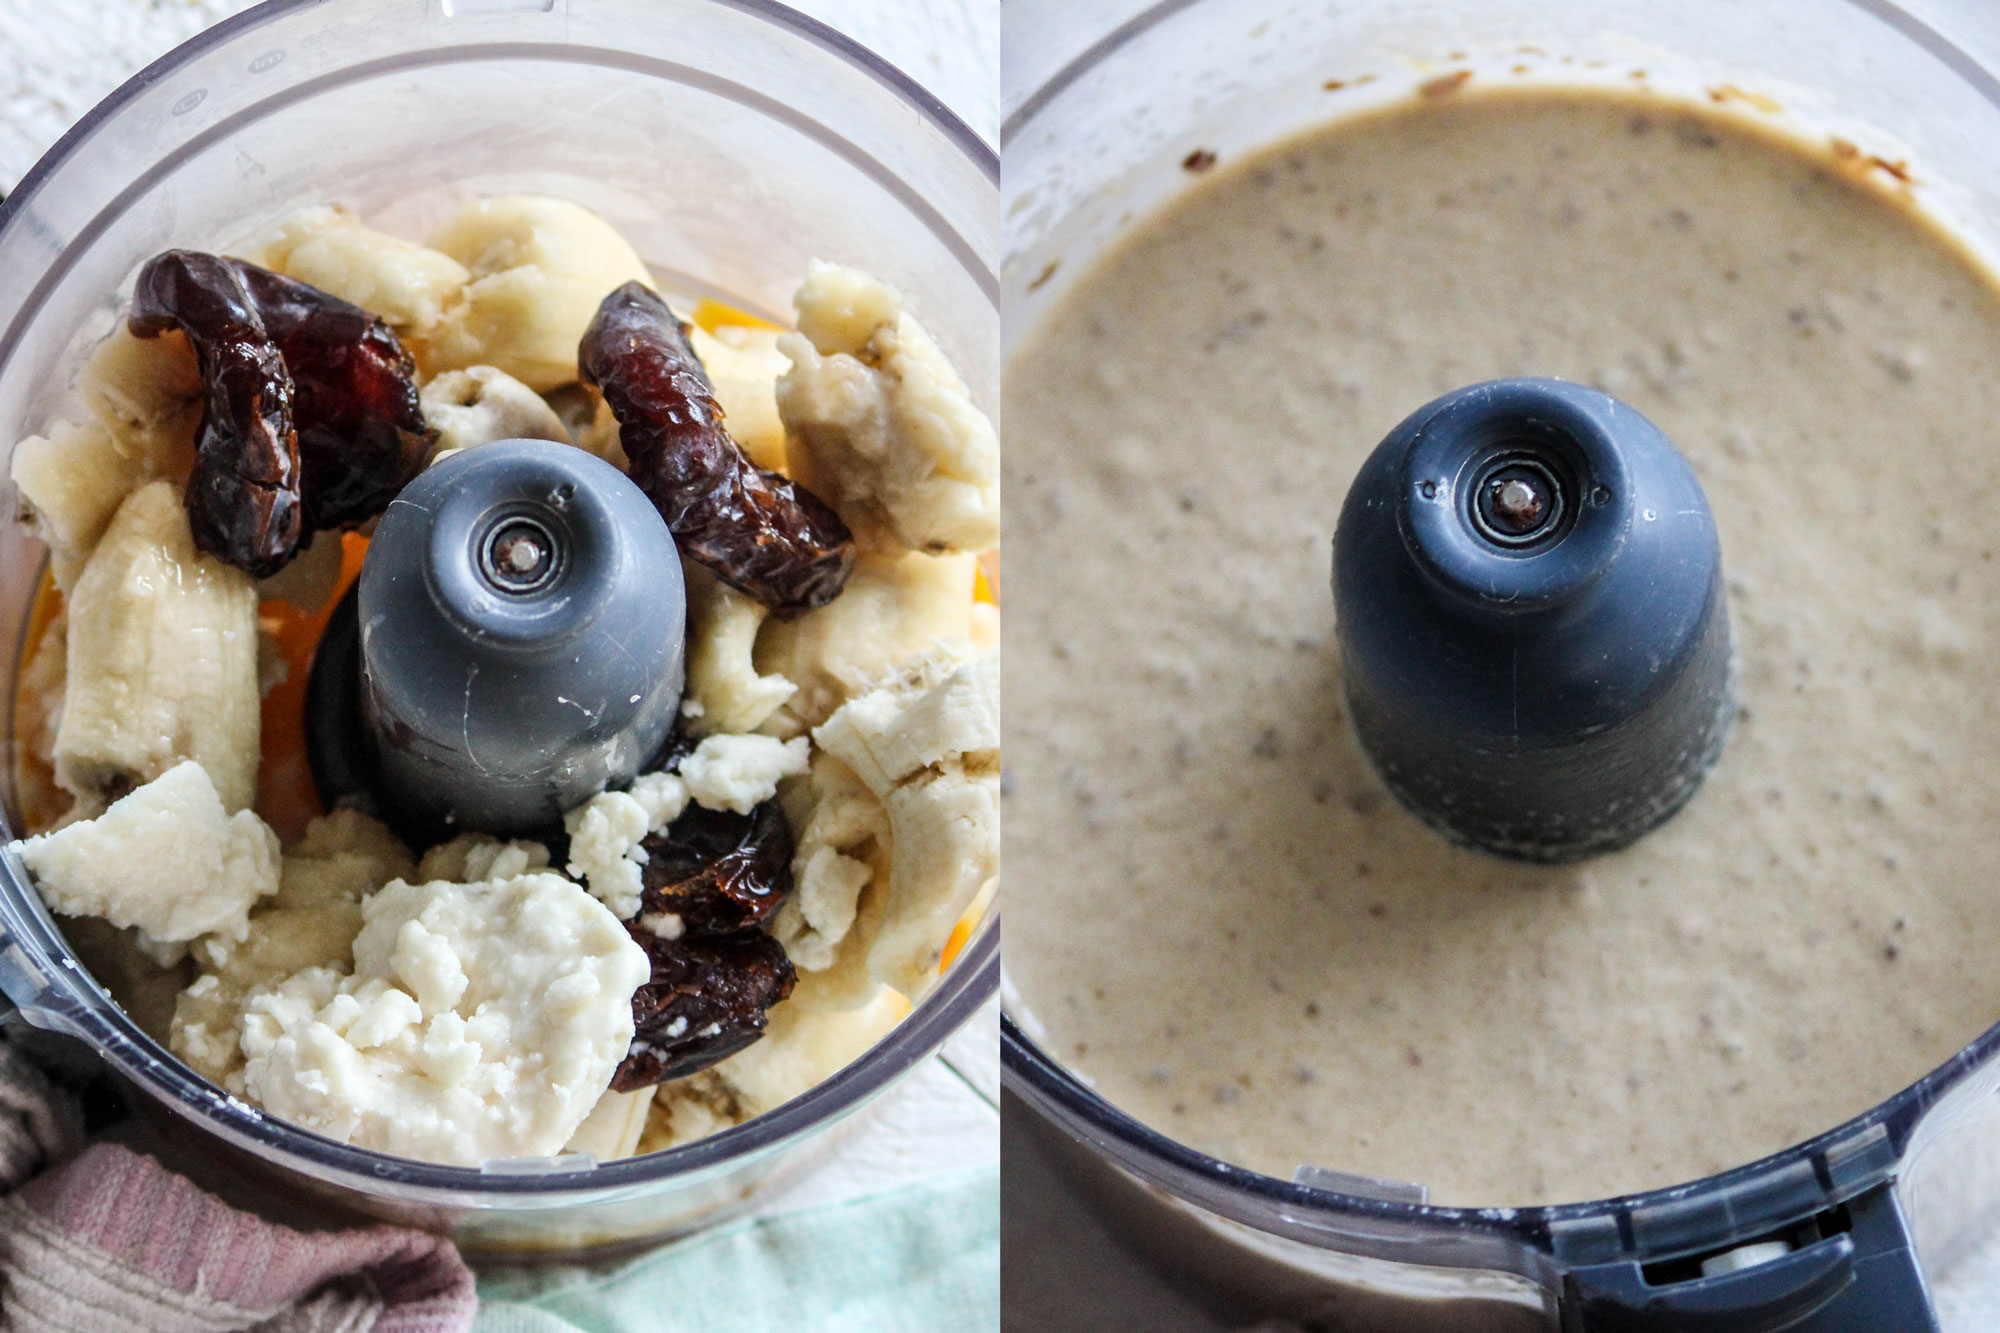
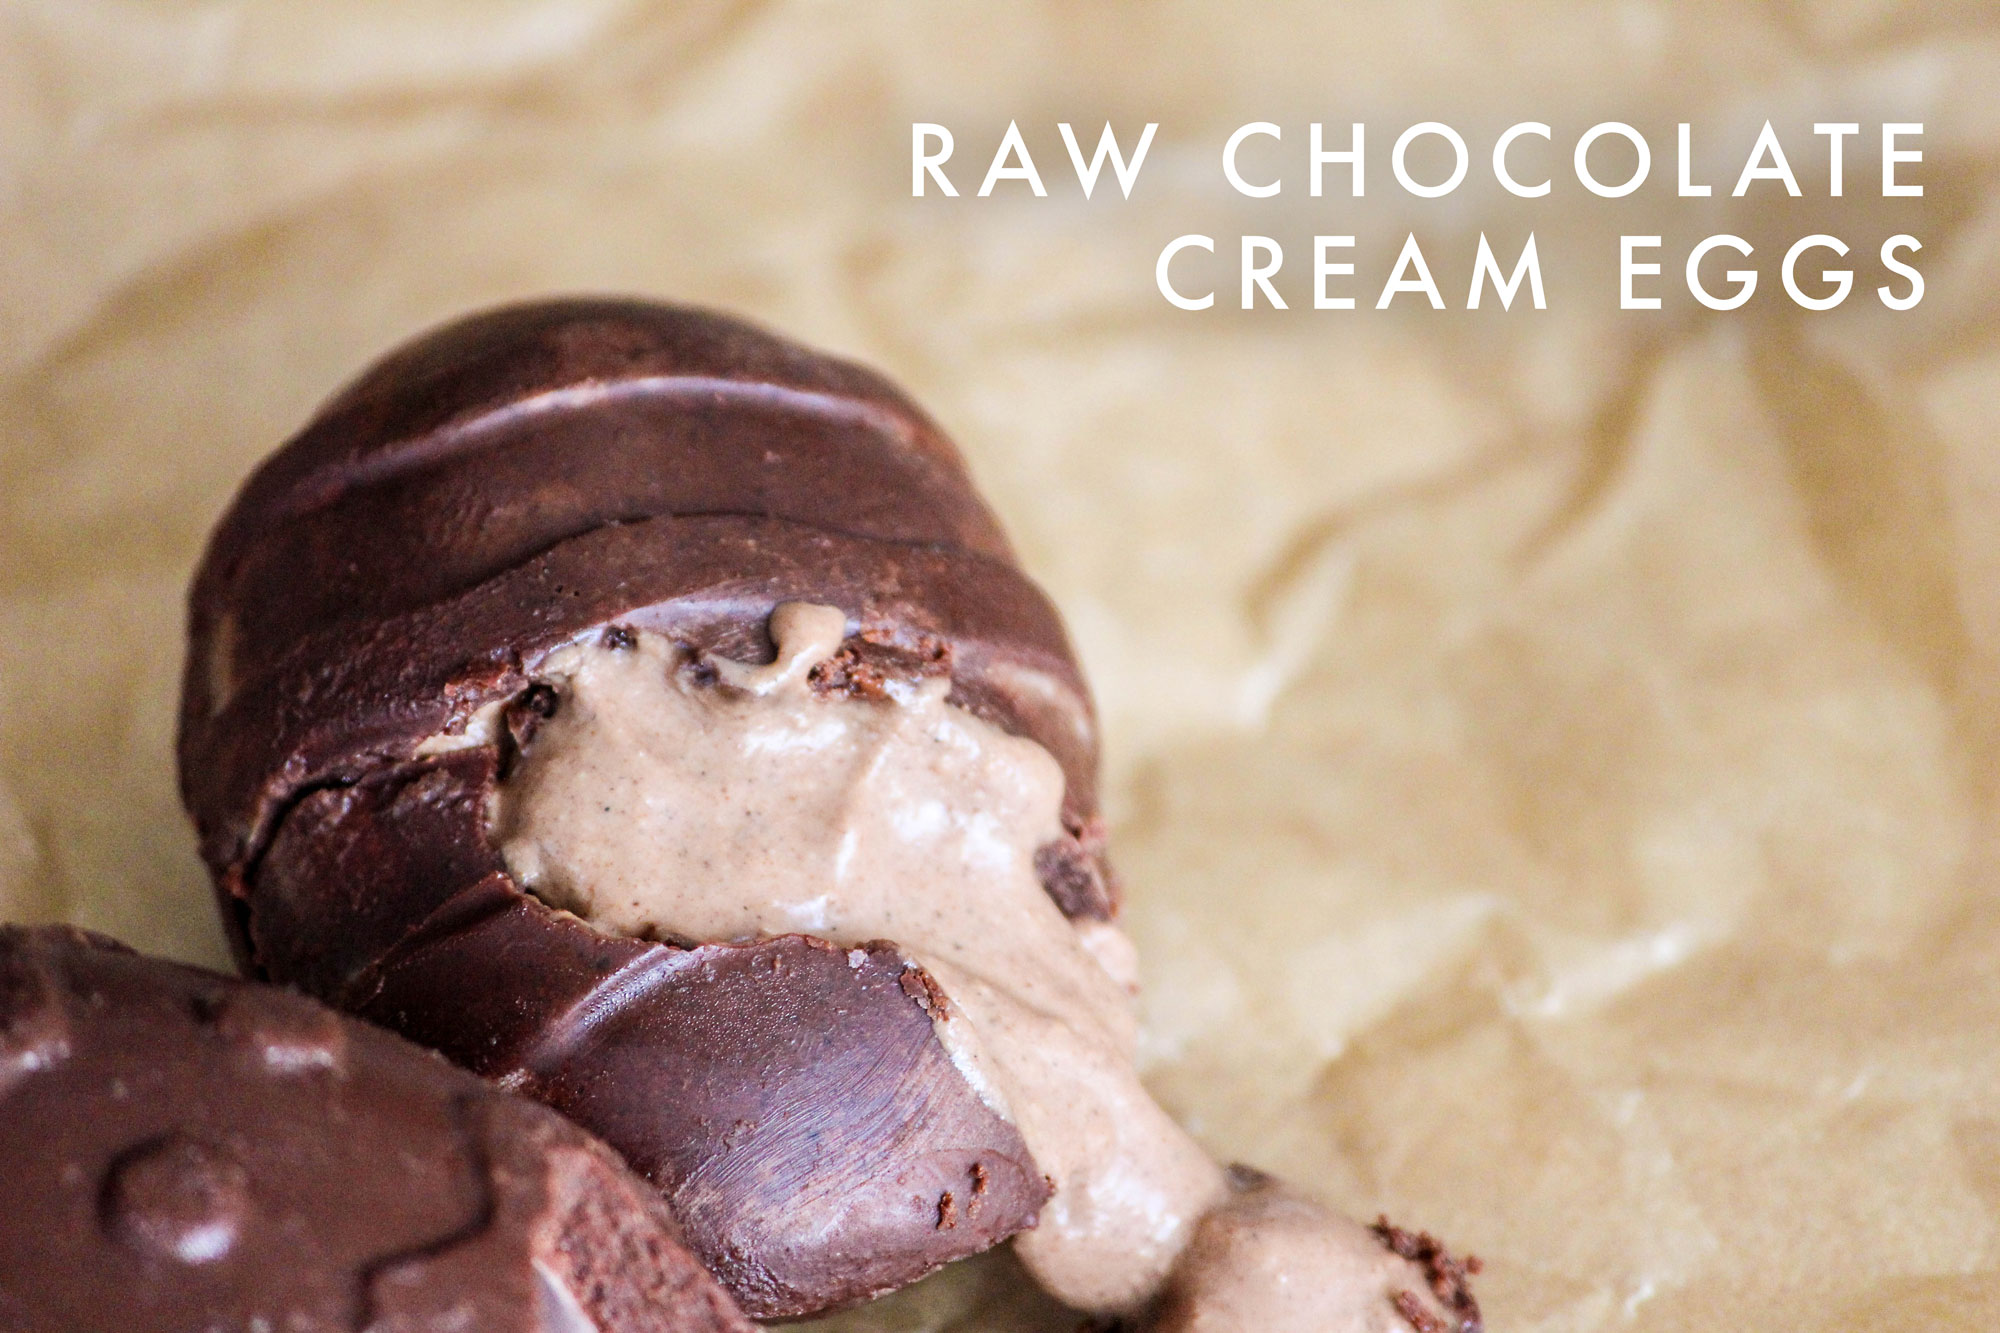
Whilst your easter egg shells are chilling in the fridge, put the remaining ingredients (1/4 cup Cashews, 1/2 cup Coconut Cream, 1 Tbsp. Raw Honey, 1/8 cup Raw Cacao, 1/4 Tsp. Vanilla Bean Powder) into a high speed blender and whizz up until smooth and creamy.
Take the easter egg shells out of the fridge and pour the chocolate cream filling into them.
Refrigerate for a minimum of 2 hours.
The joining of the egg.
Just incase you’re unclear, the easter egg moulds are made up of 6 half-eggs, so you need to join your eggs together in order to make 3 full eggs (making 6 eggs in total as there are 2 sets of moulds).
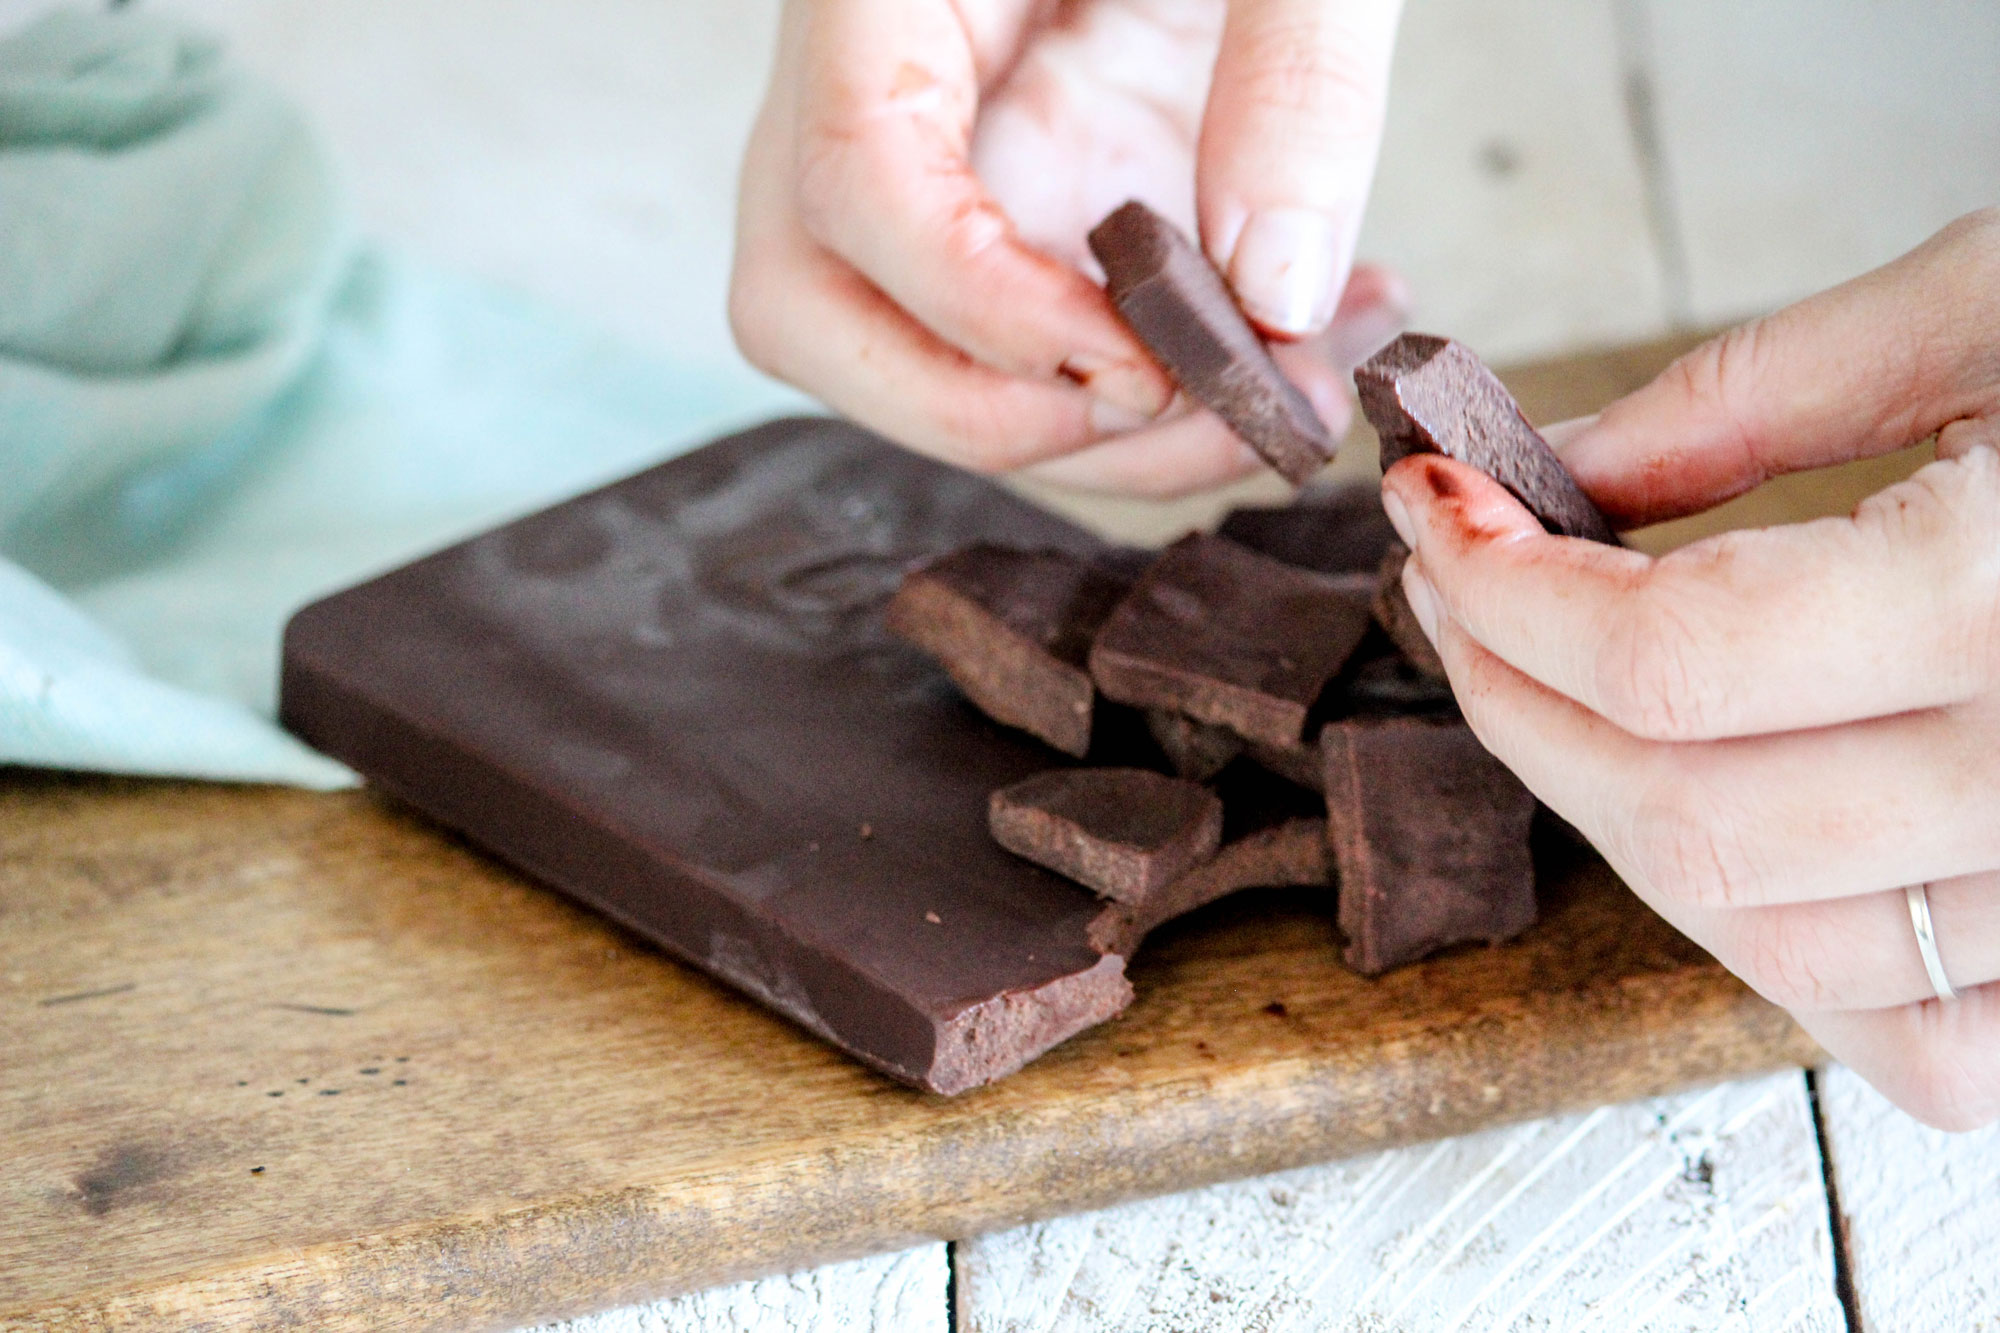
Joining the eggs is no way near as difficult as it sounds! All you do is pop out the half-eggs from their moulds, place two of your half-eggs together (to make one full egg) and then start rubbing the join (where the 2 half eggs meet up) with your finger.
The coconut oil will start to heat up and the chocolate will come together. This can be a bit fiddly but it’s a lot of fun!
Once they’re joined, pop them back in the fridge for around 15 minutes so the joints can harden.
Voilà, you have easter eggs!
Top tips from the eggspert
Hah couldn’t resist!
+ Pop the moulds onto a plate before filling with chocolate, once filled with chocolate pop the plate (with the moulds) in the fridge so you don’t spill any chocolate!
+ Remember to be gentle with the eggs as they can break easily
+ If you leave the chocolate in the fridge for too long before you have scooped the middle out and the middle becomes hard, don’t stress! I did this a few times, you just need to press a little firmer with you spoon to get the middle out.
+ If the eggs break or you have any mishaps, again don’t stress, it’s such an easy chocolate to work with…just like clay remember!
+ Don’t forget to put music on and have a lot of fun!
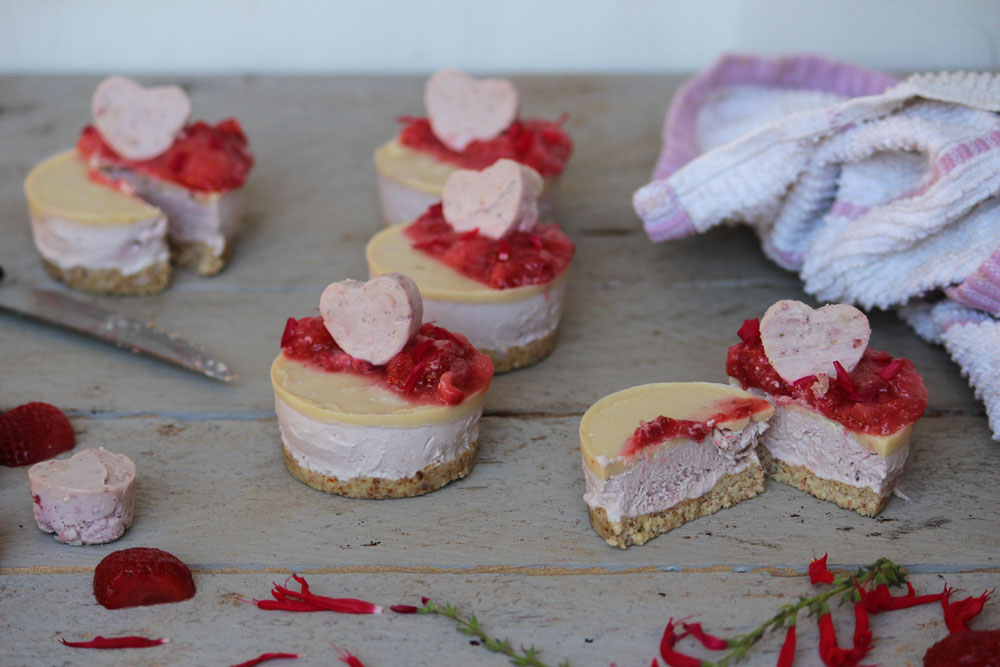
+ You can fill these bad boys with anything yummy – I made a few Strawberry filled ones as well by blending some freshly picked strawberries with cashews, coconut cream, vanilla & raw honey – yum!
Any questions – please let me know.
Crystal x