7 Edible Flowers You & Your Veggie Patch Will Love

When we think about edible gardens, we don’t usually think about growing flowers…

Because flowers aren’t usually a food right?

But once you start off on your organic edible gardening journey, you soon come to realise that flowers are so much more than just pretty looking colourful things!

Not only do they allow you to bring fresh organic flowers into your home (instead of chemical contaminated ones)…

They also attract the bees (who pollinates your fruiting plants)…

as well as the beneficial insects (the good ones that eat the bad ones)

AND….

da da da daaaa….

They can also be edible!

Even though it’s becoming the new normal to see nearly every spunky instagram food photo covered with flowers (hey and rightly so – they look amazing right!), If you’re a newby to edible gardening world the thought of edible flowers might scare you a little…

Which part of the flower should I eat???…But are you sure I can really eat this???

Because they aren’t your typical veggie or herb… and because, well, not all flowers are edible!!

But once you know which ones to get they’ll be nothing stopping you!

…Plus having an edible organic garden without a few different edible flowers is really like having Bert without Ernie… or Jerry without George… or Frasier without Niles… Okay… I think you get the point…but just incase… they are an awesome addition to any organic veggie patch & as a bonus, you can also eat them!

Here we have given you a list of 7 easy-to-grow, organic-veggie-patch-loving, beautiful edible flowers that you can easily start growing right here in Australia.

1. Alyssum

Alyssum – Pin Me!

Alyssum’s are low growing tiny little clusters of vibrant flowers with a beautiful honey-like sweet scent to them. They are frost hardy, super easy to grow and make a great addition to any salad!

2. Marigold ‘Gem Mix’ 

Marigold “Gem Mix” is a French Marigold, and along with Nasturtium, easily the most common flower to grow in an organic garden. With a citrusy Taragon Flavour, they make a great addition to hearty savoury dishes whilst providing you with a bit more nutrition whilst they are at it! Gem Mix is the only true edible form of French Marigolds.

3. Nasturtium

Also used in herbal medicine, people also love growing Nasturtiums for their helping hand in the organic garden, as well as their edible goodness. They have a tangy flavour similar to Watercress and contain up to 10 times the amount of vitamin C found in lettuce.

4. Viola

Violas are amazing little power packed flowers and can really be used in any dish. Their loaded with vitamin C and their bright colours are amazing. If you’re feeling really creative you can even make them into a beautiful jelly (we use Great Lakes Gelatin to do this). Along with the flowers, you can also eat the leaves.

5. Calendula

Often confused with French Marigolds, Calendula are hearty tall flowers, widely used in herbal medicine, as well as creams to sooth skin inflammation. Calendula can be planted in the cooler months. Many people use their petals as a substitute for Saffron.

6. Cornflower

Easy to grow, beautiful to look at! Cornflower petals can be used to brighten up any dish that needs a bit of oomph, whilst also helping you stay calm and relaxed!

7. Hollyhock

This picture seriously looks like it’s out of some fairy tale book yes? But I kid you not – this is the real deal!
Hollyhock is a direct relation to marsh mallow (not the kind you find at the lolly shop :p) and is often used in herbal medicine. Their taste is quite bland so is mainly atop of cakes and deserts to add in the WOW factor!

Would love to hear if you have any edible flower recommendations 🙂 Or of course, any questions – I’m here all night folks :p

C xx

5 incredible reasons why you should amp up your leafy greens ASAP!

Our 8L Stock Pot full of freshly picked Silverbeet, Spinach & Rocket – Pin Me!

“Eat your greens!”

How many times have you heard this?

…And if you’re a proud parent, you would have no doubt used these words yourself many of times…

But apart from the obvious fact that when grown in nutritious soil, they will contain adequate amounts of nutrition – have you ever wondered what the big deal was?

Here’s something for you… when I was doing my health studies, the knowledge that I picked up on old mate green leaf was enough to see me having a green juice every single day without fail for the last 2 and a half years – true story.

So what’s the deal & why are they so amazing for you?

Put simply – leafy greens store an incredibly dense amount of nutrients in their leaves in order to produce future seeds which will allow the species to keep on living.

In other words, they want to pass on as much nutrition as possible to their offspring, and will store the nutrients in their leaves in anticipation of this miraculous event!

This then means that if you grow your own leafy greens (if you’re don’t we hope you will be soon – hint hint!) and you pick the leaves before they start to produce seeds, you’re body will reap all the benefits!

What’s even more incredible is the next 5 things that these amazing guys can do for you…. ready?

1. They contain a BOAT LOAD of Chlorophyll
The process of absorbing sunlight & converting it into energy is called Photosynthesis which leads to the formation of Chlorophyll.
Only plants produce this – nothing else.
Chlorophyll (you’ve probably seen this around as a superfood in a jar) is known for eliminating toxins from the body. Chlorophyll also assists in maintaining healthy blood flow & hormonal balance. Chlorophyll is said to be one of the strongest super foods out there. But instead of eating it from a bottle, just try to include as many leafy greens into your diet as possible. It’s powerful stuff.

Our Bok Choy seedling soon to be in our dinner! Pin Me!

Our Bok Choy seedling soon to be in our dinner! Pin Me!

2. Strong Bones
Unfortunately these days, the ‘typical’ Western diet leads to a highly acidic blood PH level.
What on earth does this mean?
Put simply, the PH level of our blood needs to be ‘alkaline’… BUT… if we’ve been feeding our body with things like refined sugars/flours/grains/alcohol (all things highly acidic), it will push our body to the acidic spectrum.

So your body can remain Alkaline (so you don’t die…literally), it will draw minerals from your bones (as those minerals are alkaline) to counteract the effect of the acid. Eating leafy greens makes sure that your body doesn’t have to dip into your bone minerals, leaving you with awesome bone health.

Our Rainbow Chard loving the sun! Pin Me!

Our Rainbow Chard loving the sun! Pin Me!

3: They Improve Nutrient Absorption!
As leafy greens are bitter in flavour, the bitterness actually activates tastebuds that then stimulate enzyme production promoting proper digestion. You’d be surprised just how many nutrients your body is missing out on if you don’t have adequate digestion – it’s everything, fortunately, we have leafy greens.

Our Ruby Red Silverbeet about to be harvested! - Pin Me!

Our Ruby Red Silverbeet about to be harvested! – Pin Me!

4. Healthy, Glowing, Younger Skin
Leafy greens are PACKED with Vitamin K – & although many may not know it- Vitamin K is one of the key vitamins for healthy skin production, as well as helping to smooth out wrinkles & lines. Vitamin K doesn’t get stored in our body (unlike many other vitamins) which means that we need to be feeding it to ourselves every single day! Green juice anyone?

A fresh harvest of lettuce, silverbeet & rocket - Pin Me!

A fresh harvest of lettuce, silverbeet & rocket – Pin Me!

5. More greens can get rid of your sweet cravings!
By including more leafy greens into your diet, you are actually helping your body change it’s preferences to more bitter foods, instead of unhealthy sweet foods. Isn’t this amazing?

Our freshly picked Silverbeet & Parsley! Pin Me!

Our freshly picked Silverbeet & Parsley! Pin Me!

They’re pretty powerful little beasts aren’t they?

Now before you run off to make your green smoothie… keep in mind that once a plant starts to produce seeds (or you see little flowers which will soon turn into seed heads) it also starts to transfer nutrients from the leaves into the seeds. Once all the seeds have been produced, the leaves will turn yellow & dry up as they become completely nutrient deficient.

So for optimal health benefits, always make sure you harvest before they go to seed!

Haven’t started growing greens yet? Next week we’ll give you a list of the easiest greens to grow so you can start straight away!

Okay i’m off to make a juice! 😉

Any questions, thoughts, or contemplations…you know the drill – I love hearing from you!

C x

Paleo Double Choc Raw Cheesecake with strawberries

Paleo-Double-Choc-Raw-Cheesecake

Paleo Double Choc Raw Cheesecake – Pin Me!

April 20 saw me celebrating my 27th Birthday – & the now 3rd birthday of my organic wholefoods lifestyle (which my beloved grandparents still don’t understand…. picture a thick dutch accent exclaiming “Oh Crystal, you can eat cake can you!?” – something that i’ve now come to accept get a big kick out of)

It was an awesome day filled with meditation, yoga, lunch at Combi & Dinner at O.MY (Write up about these two places coming shortly!) – oh – &  there was really good cake! Like, super chocolately, super creamy, super delicious cake!

paleo-raw-chocolate-cheesecake

Paleo Double Choc Raw Cheesecake – Pin Me!

The best thing about it? I didn’t make it!!

My husband made it ALL on his own 😉 – & if you knew my husband – you would know that this means it is extremely easy to make 😉

The second best thing is that it got the big tick of approval from me in regards to the taste & nutrition…AND he was able to use the endless supply of strawberries we have growing in one of our Healthy Patches – it was a win win win!

paleo-raw-chocolate-cheesecake

Paleo Double Choc Raw Cheesecake – Pin Me!

paleo-raw-chocolate-cheesecake

Paleo Double Choc Raw Cheesecake – Pin Me!

paleo-raw-chocolate-cheesecake

Paleo Double Choc Raw Cheesecake – Pin Me!

Alright, So what’s in the cake & why is it so great?

Cacao

Chocolate in its purest form… before it has been processed and stripped of its amazing nutritional goodness.
Cacao is packed to the brim with antioxidants & is super high in magnesium.

Coconut cream

A quality healthy fat that everybody should include in their diet. It has high antimicrobial properties & is a powerful solvent for breaking up stored hardening in the body such as stored plaque. Coconut cream came in at number 9 in Dr Nat Kringoudis’ Top 10 Foods for Fertility, and in her own words “It’s like a chimney sweeper on your insides!”

Strawberries 

Loaded with Vitamin C & Manganese, & promotes healthy eye sight & brain function (oh and by the way – did you know strawberries are a herb? You can learn about the other awesome herbs you can start growing NOW + their health benefits in our free eBook “Wholesome Healing Herbs you can grow in the cooler months”)


SWEETENERS USED:

Manuka Honey

Manuka is antimicrobial & antiviral. It is also an antioxidant that can help to increase vitality and immunity.

Mesquite Powder

paleo-raw-chocolate-cheesecake

Paleo Double Choc Raw Cheesecake – Pin Me!

High in protein, stabilises blood sugar & contains calcium, magnesium, potassium, iron and zinc.

paleo-raw-chocolate-cheesecake

Paleo Double Choc Raw Cheesecake – Pin Me!

Alright alright, if you haven’t already scrolled down to the bottom of the page for the recipe then enough is enough :p Here is the recipe 🙂 xox

Paleo Double Choc Raw Cheesecake with Strawberries
-Dairy, Gluten, Grain & Sugar Free-

Ingredients:

Base:

1 1/2 cup LSA or almond meal (We LOVE LSA!! That’s Linseeds, Sunflower Seeds & Almonds)

2 tbsp. mesquite powder

½ tsp. cinnamon

2 heaped tbsp. coconut oil

Filling:

400 ml coconut cream (1 can)*

1 cup cashews, soaked in water overnight, drained

2 tbsp. manuka honey

1/4 cup cacao

1 tsp. cinnamon

1/2 tsp vanilla bean powder (optional)

Raw Choc top layer:

1/2 cup Raw Cacao

1/2 Cup Coconut Oil

2 tbsp. Coconut Butter

1 Tbsp. Manuka Honey

1/2 tsp. Vanilla Bean Powder (optional)

Garnish:

1 Cup of Strawberries (fresh or frozen) *

Method:

Base:

Place all ingredients into a food processor & process until mixture resembles crumbs, & will easily stick together when formed into a ball. If mixture is a little dry add a little more coconut oil.

Firmly press mixture into the base of an 18cm loose base cake tin until smooth and even. Chill in the fridge for a minimum of 30 minutes before adding the filling.

Filling:

Place all ingredients into a high speed blender (such as a Vitamix) & blend on high speed until smooth. Pour into cake tin on top of base and chill in the fridge overnight or until firm… around 4 hours.

Raw Choc top layer:

Place all ingredients into a high speed blender (such as a Vitamix) & blend on high speed until smooth. Pour onto the filling and chill back in fridge until firm (around 1-2 hours).

PRO TIPS & ASTERISKS

If you’re in a hurry, just put each layer in the freezer before you start the next one – it will spilt the waiting time in half. Just keep in mind that if you pour the raw choc layer onto the middle layer when you have just taken it out of the freezer, it will literally set straight away. This means that you can’t smooth out the chocolate… so if you don’t m,ind the rustic look such as ours – go right ahead! 😉

*Anth used Frozen as we freeze our strawberries when we pick them so they don’t go bad… so if you want a strawberry glaze over the raw choc like ours, use frozen strawberries as they will melt & their juices will glaze over the raw choc top layer 😉

* Make sure to find a good brand of Coconut Cream that doesn’t contain anything other than Coconut – we use OnRich Organic Coconut Cream 

Any questions at all, you know the drill! Just leave em in the comments below & I will get straight back to you!

C xxx


Lemon Thyme ANZAC biscuits

Lemon-Thyme-Gluten-Free-ANZAC-Biscuits

Lemon Thyme Gluten Free ANZAC Biscuits – Pin Me!

Whilst the normal ANZAC biccy is predominantly made with Rolled Oats, white flour and refined sugar

– 3 ingredients that I have parted ways with –

It’s super easy to make a batch of deliciously healthy ANZACs with a kick that will keep you coming back for more! (Is that a good thing?… Well… all the ingredients are super high in vitamins & minerals so I’m going to say Sure! Why the hell not!!)

This time round, we went out to our Healthy Patch & decided to add one our fave herbs to the mix…

Lemon-Thyme-Gluten-Free-ANZAC-Biscuits

In the process of making Awesome Lemon Thyme Gluten Free ANZAC Biscuits – Pin Me!

LEMON THYME!

Not only does Lemon Thyme offer you a big POP of flavour… it’s also packed with nutrition!

Why Lemon Thyme Rocks Our Socks
♥ 
It’s packed with Vitamins & Minerals
♥ It has one of the highest antioxidant levels
♥ It contains the essential oil Thymol which has antiseptic & anti fungal characteristics
♥ It’s super high in B complex vitamins, as well as A,C,K & E

These awesome little health benefits we’re taken straight from our eBook “Wholesome Healing Herbs You Can Grow In The Cooler Months” – Get your hands on this for free right here 🙂

Lemon-Thyme-Gluten-Free-ANZAC-Biscuits

Lemon Thyme Gluten Free ANZAC Biscuits – Pin Me!


Another star ingredient we have chosen to use in our ANZACs is Quinoa!

Why we think Quinoa is pretty spiffy… 

Quinoa is a COMPLETE PROTEIN (meaning it contains all of the essential amino acids) – this doesn’t happen a lot when we’re talking plant foods. It is also packed with B Vitamins & Trace Minerals.
It was all the rage last year due to its awesome nutritional profile + the high amount of energy it gives you when you eat it, but a few people that I know (especially my old man) are still a bit iffy on the taste.
Cooked alone, yeah it ain’t great!
BUT… It can make the perfect substitute for white rice, white flour, or in this case, rolled oats, when we dress it up with a few other star ingredients equaling an end result of  YUM!

Now before I continue… just a quick word on why we don’t eat oats…

Whilst oats do have a high nutritional profile (just under quinoa) they are generally referred to as a gluten grain… even though they technically don’t contain gluten.
The issue is that oats are generally grown in rotation with gluten grains + produced using the same equipment as gluten grains.
Unfortunately this is where cross-contamination occurs – making it very hard to get your hot little hands on gluten free oats.

Alright…shut up Crystal, give me the recipe already!

LET’S DO IT!

Lemon Thyme ANZAC biscuits

Lemon-Thyme-Gluten-Free-ANZAC-Biscuits

Lemon Thyme Gluten Free ANZAC Biscuits – Pin Me!

Lemon-Thyme-Gluten-Free-ANZAC-Biscuits

Lemon Thyme Gluten Free ANZAC Biscuits – Pin Me!

Makes 16 small biscuits or 8 Large Biscuits

Ingredients:

1 1/2 cup quinoa flakes (AKA rolled quinoa)

1/2 cup desiccated coconut

3/4 cup LSA or almond meal (we use LSA… Linseeds, Sunflower seeds & Almonds crushed up into a powder)

1/4 cup of freshly picked Lemon Thyme (we throw in the sprigs & all but you can just use the individual leaves if you prefer)

2 heaped tbsp. coconut oil

3 tbsp. manuka honey

1 egg

Optional Extras for an extra kick

1 tsp. coconut butter (AKA coconut paste)

1/2 tsp. cinnamon

1/2 tsp. vanilla bean powder

Method:

Preheat oven to 150c

Throw everything into a food processor & process into you get a nice & slightly wet ball of dough. (It should all be sticking together nicely)

Place dough onto baking paper* & cut divide into 8 (or 16 small) equal portions.

Roll them into balls & flatten them down using the palm of your hand until you have your desired consistency. (You can make them really flat or a little chunky – up to you!)

Place on a baking tray, pop in the oven and cook for around 15 minutes. (the longer you leave them in, the harder they will be).

Remove from oven & place on a wire rack until cooled.

Like any biscuit – they will harden up while they are cooling down, so if you want them a bit chewy – make sure they are still quite soft when you take them out.

Now go & enjoy your healthy lemony ANZAC biscuits!

*Most baking papers can be quite toxic as they are filled with bleach and chlorine. We love the brand ‘If you care’ which is unbleached, chlorine free & compostable.

Any questions – let me know! 🙂

C x

Wholesome Healing Herbs For The Cooler Months

Pretty to look at… Beautiful textures… Absolutely bursting with flavour…  
 

But other than making an appealing garnish or delightfully palatable beverage – what are herbs good for?

Here’s something for you – growing up I actually never understood the whole herb thing – I thought they were just a fancy shmancy thing that people would put on their plates to make a dish look more appealing – who has time for that right?

Fortunately – nowadays I know better.

Why?

Herbs are some of the most nutritionally dense plants out there, I was actually blown away when I started learning just how powerful they are.

Not to mention the types of conditions they can be helpful in treating:

Like – heaps.

Acne
Blood sugar levels in diabetics
Hair loss
Headaches/migraines
Heartburn
High blood pressure
Hormonal imbalances
Inflammation
Insomnia
Intestinal Worms
Joint Stiffness/pain

Stomach cramps

Amazing right?

Vitamins, minerals, antioxidants, essential fatty acids, all the stuff your body needs to keep you happy & healthy, can be found in herbs.

Adding a handful of herbs to your diet is a great way to give your body that extra boost of goodness PLUS it’s easy!

I mean, how hard is it to add a bunch of rosemary to that yummy dish you just whipped up?

Seriously?!

Cut up some parsley & add it to your salad…
Or pair with coriander & juice it with some leafy greens…
Add peppermint to your favourite desert (I like to add it to my super duper chocolate protein ice cream)…
Or take that coriander from earlier & add it to a curry!
And that’s just the tip of the iceberg!

But before you race off to the supermarket to grab some herbs (you have your car keys in your hand right?) – keep in mind that growing herbs yourself is so freaking easy & oh so much more rewarding than putting down cash for chives that have been sitting on a shelf for 3 days.

Theres’ a whole mess of herbs you can get your hands on right here in Australia, & literally start growing today.

And even better news for you – the majority of them are as tough as nails, like 1 of the 300 Spartan’s tough… Which means that they are SUPER easy to grow.

And just incase you’re thinking “That’s all well & good Anth, but it’s getting colder & the days are getting shorter, will anything I plant even survive? I’ma wait until spring comes back before I start planting

The short answer – Start planting now!!!!

There’s a TONNE of herbs that you can start planting right this minute…

And they like the cold… they know how to deal with the cold… in fact, they can take the cold out for a nice candle lit dinner & presumptuously order brekky for 2 the next morning! (Bit much?)

The point is – they can handle the cold.

So what awesome stuff can you start growing right now?

To help you navigate that minefield, we’ve put together a little ebook just for you – “Wholesome Healing Herbs you can grow in the cooler months”.

“Wholesome Healing Herbs you can grow in the cooler months” goes through over 30 beautiful & power packed herbs that can be grown in the cooler months + the health benefitshow you can use them
It’s all there – & it’s completely FREE!

Download your FREE copy of ‘Wholesome Healing Herbs you can grow in the cooler months here!!

Hope you have a blast reading it!

Happy Herbing!!

Anth

Gluten Free Sunflower Seed Pizza

Sunflower Seed Pizza with Roast Chicken, Cherry Toms & Goats Fetta – Pin Me!

Sunflower Seed Pizza with Roast Chicken, Cherry Toms & Goats Fetta – Pin Me!

Oh My Goodness how I LOVE Pizza. Conventionally – probably one of the most nutritionally stripped foods out there, but homemade – you can turn it into a gut friendly, hormone happy super duper healthy food!

Say hello to my Sunflower Seed Pizza!

This one is topped with left over Organic Roast Chicken, the last of our Cherry Toms from the garden, mushrooms, basil & Organic Goats Feta.

Drizzle with a tad of olive oil & you’re on pizza cloud 9

But before we get to the recipe, lets talk about why it’s awesome!

The Crust

This crust is loaded with a heap of vitamins, minerals & antioxidants just waiting to nourish your body!

Sunflower seeds are packed with vitamin E, the body’s primary fat-soluble antioxidant which helps prevent damage to your cells from compounds called free radicals.

Almonds are loaded with magnesium (a key mineral in balancing hormones) + are rich in mono-unsaturated fatty acid, which helps raise HDL (the good cholesterol) & lower LDL (the bad cholesterol) levels.

Sesame Seeds are packed with calcium, iron, manganese, zinc and selenium but even more so with copper which is crucial for building strong tissue, maintaining blood volume & producing energy in your cells.

Why we choose Organic Goats dairy over Cow dairy

Although we don’t have dairy products that much, when we do, we choose products made from organic Goats milk. Goats milk (& Goats milk products such as cheese & yogurt) have a different chemical profile to cow’s milk, which makes it a healthier alternative.

The fat globules in goat’s milk are one ninth of the size of those found in cows milk, which makes it easier to digest. Goats milk is also high in riboflavin which is essential for the body to gain and maintain energy.

Alrighty – lets start cookin’ good lookin’!

Sunflower Seed Pizza with Roast Chicken, Cherry Toms & Goats Fetta – Pin Me!

Sunflower Seed Pizza with Roast Chicken, Cherry Toms & Goats Fetta – Pin Me!

Gluten Free Sunflower Seed Pizza:

Ingredients:

Base

1/2 cup Almond Meal

1/2 cup Ground Sunflower Seeds

1/4 cup Ground Sesame Seeds

1 Egg, whisked

2 tbsp Coconut Oil (soft or melted, just not super hard!)

Other awesomely healthy optional ingredients:

1 Heaped Tbsp Grass Fed gelatin powder

1 Heaped Tbsp Chia Seeds

Method:

Preheat oven to 180 C

Mix the Almond Meal, Sunflower Seeds & Sesame Seeds (plus other “awesomely healthy” ingredients if you are using them) together in a bowl, add the Egg & Coconut oil and mix through until mixture has stuck together and a ball can easily be formed (The ball should feel quite wet and oily).

If mixture is a little dry, add some more coconut oil or a few tbsp of filtered water until you get the right consistency.

Place the ball onto a sheet of baking paper & roll it out into a thin circle. (They never roll out into a perfect circle so if you want to be pedantic you will need to mold it with your hands once rolled out!)

Don’t have a rolling pin?? Place another piece of baking paper on top of the ball, & then push it down with your chopping board as hard as you can – that should do the trick!

Place it in the oven for 10 minutes or until it is quite firm (but not hard), take it out, add some tomato pasasta + your favourite toppings. (We’ve added mushrooms, cherry tomatoes, shredded roast chicken, basil & feta).

Crumble over Feta, or add cashew cheese.  Drizzle with some extra tomato passata & place back in oven for 10-15 minutes.

Adding basil? Place the fresh herbs on the pizza in the last 5 minutes of your cooking time so they don’t burn.

For our vegan friends

Omit the egg & add 2 tbsp of Psyllium Husk to the almond & seed mixture. Then add 2 tbsp of water with the coconut oil and mix through. If the mix feels a little dry add a little more water until you can form a proper ball. Omit Chicken and Feta and top with more vegies & Cashew Cheese.

*This makes 1 pizza – my hubby and I always make 1 each for dinner, however we do eat quite a lot of food :p*

Pizza Topping ideas

We usually top up our pizza with fresh veggies & whatever left overs we have, but you can go nuts with different ideas…

Rocket & Cashew Cheese with drizzled olive oil .

Pumpkin & Spinach with Basil Pesto.

Chicken & Fresh Pineapple

Leftover Bolognese Sauce

So many awesome options!

Any questions, please let me know!

Crystal x

Paleo Raw Chocolate Fudge with Almonds & Sultanas

Paleo-Raw-Chocolate-Fudge-with-Almonds-and-Sultanas

Paleo Raw Chocolate Fudge with Almonds and Sultanas – Pin Me!

Paleo Raw Chocolate Fudge with Almonds & Sultanas - Pin Me!

Paleo Raw Chocolate Fudge with Almonds & Sultanas – Pin Me!

I originally whipped this one up for my old man who’s always been partial to the fruit & nut chocolate block…

but holy-freaking-pudding-pie, once I had a bite I was actually reluctant to hand over the rest…

Not only is it ridiculously easy to make, it tastes incredible. I know you will love it!


Alright alright… let’s get to the recipe…

Paleo Raw Chocolate Fudge

Ingredients

250ml of raw chocolate (recipe here)

1/4 cup Cashews

3/4 cup Coconut Cream

1/2 Tsp. Cinnamon

1/2 tsp. Vanilla Bean Powder.

1/2 Tbsp. Manuka Honey

1/2 cup Almonds

1/2 cup Sultanas

Method

After you have blended your raw chocolate (following my recipe here), add all other ingredients except the almonds and sultanas (1/4 cup Cashews, 3/4 cup Coconut Cream, 1/2 Tsp. Cinnamon, 1/2 tsp. Vanilla Bean Powder, 1/2 Tbsp. Manuka Honey) into the blender and blend on high until smooth and creamy.

The consistency should be quite thick compared to the original raw chocolate.

Scoop out into a rectangular silicon mould (I used a silicon loaf tin) and add almonds and sultanas.

Smooth out the top with a rubber spatular or the back of a spoon, and place into the fridge for a minimum of 2 hours.

Enjoy your chocolate fudge!

Top tips 

+ If you don’t want whole almonds, give them a whizz in a food processor until you have desired consistency.

+ Keep in the fridge until you are ready to eat it.

+ Feel free to add other nuts or fruit in the mix such as goji berries, brazil nuts etc.

+ Have a good time making it!


Any questions,

Please let me know!

C xoxo

Paleo Raw Chocolate Cream Filled Easter Eggs

paleo-raw-chocolate-filled-easter-eggs

Paleo Raw Chocolate Filled Easter Eggs – Pin Me!

Paleo Raw Chocolate Filled Easter Eggs – Pin Me!

Did someone say healthy easter egg?

Yes! It was me!!

A few people have mentioned to me that making your own easter eggs is a pain in the backside… So of course I wanted to give it a go & prove everyone wrong!

& I believe I have! Working with raw chocolate is a lot easier then it looks!

It reminds me of working with clay… So if you’ve ever worked with clay before you will be the Easter Egg Master shortly!

If not – you will still find it pretty easy!

Because 1 of the main ingredients is coconut oil, the chocolate starts to melt when under heat – so it’s really easy to shape it with your hands… it is a bit fiddly though!

Oh – & I should also point out, because raw chocolate does melt easier then normal chocolate, keep them in the fridge!!

Alrighty – let’s get to it.

Paleo Raw Chocolate Cream filled Easter Eggs:

Ingredients

250ml of raw chocolate (recipe here)

2 sets of medium silicone easter egg moulds (I purchased mine from spotlight for 10 bucks, & there are 6 half-egg moulds per set)

1/4 cup Cashews (preferably soaked overnight & drained)

1/2 cup Coconut Cream

1/2 Tsp. Cinnamon

1/2 Tbsp. Manuka Honey

1/8 cup Raw Cacao

1/4 Tsp. Vanilla Bean Powder

Method

The easter egg shells
Once you have whizzed up your raw chocolate in the blender (following my raw chocolate recipe here), pour the chocolate into the first set of moulds all the way up to the very top. Carefully place in the fridge.

Refrigerate for around 30 minutes so that the chocolate has hardened around the outside, but is still slightly goey in the middle.

Evenly scoop out the goey insides with a spoon so you are left with a nice thick easter egg shell (around 2-3mm).

Place the goey remains back into the blender and whizz until silky smooth again.

Pour into the next set of moulds and repeat process but this time you can eat the goey remains 🙂

At this stage, all easter eggs (half eggs) should be hollowed, sitting in their moulds, & chilling in the fridge.

The filling

Whilst your easter egg shells are chilling in the fridge, put the remaining ingredients (1/4 cup Cashews, 1/2 cup Coconut Cream, 1/2 Tsp. Cinnamon, 1/2 Tbsp. Manuka Honey, 1/8 cup Raw Cacao , 1/4 Tsp. Vanilla Bean Powder) into a high speed blender and whizz up until smooth and creamy.

Take the easter egg shells out of the fridge and pour the chocolate cream filling into them.

Refrigerate for a minimum of 2 hours.

The joining of the egg.

Just incase you are unclear, the easter egg moulds are made up of 6 half-eggs, so you need to join your eggs together in order to make 3 full eggs (making 6 eggs in total as there are 2 sets of moulds).

Joining the eggs is no way near as difficult as it sounds! All you do is pop out the half-eggs from their moulds, place two of your half-eggs together (to make one full egg) and then start rubbing the join (where the 2 half eggs meet up) with your finger.

The coconut oil will start to heat up and the chocolate will come together. This can be a bit fiddly but it’s a lot of fun!

Once they are joined, pop them back in the fridge for around 15 minutes so the joints can harden.

Voilà, you have easter eggs!

Top tips from the eggspert 

Hah couldn’t resist!

+ Pop the molds onto a plate before filling with chocolate, once filled with chocolate pop the plate (with the molds) in the fridge so you don’t spill any chocolate!

+ Remember to be gentle with the eggs as they can break easily

+ If you leave the chocolate in the fridge for too long before you have scooped the middle out and the middle becomes hard, don’t stress! I did this a few times, you just need to press a little firmer with you spoon to get the middle out.

+ If the eggs break or you have any mishaps, again don’t stress, it’s such an easy chocolate to work with…just like clay remember!

+ Don’t forget to put music on and have a lot of fun!

+ You can fill these bad boys with anything yummy – I made a few Strawberry filled ones as well by blending some freshly picked strawberries with cashews, coconut cream, vanilla & manuka – yum!!!

Any questions – please let me know.

What now? Go & check out our last Easter recipe here – this one is my favourite!!

Crystal XOXO

The Best Paleo Raw Chocolate

THE-BEST-PALEO-RAW-CHOCOLATE

The Best Paleo Raw Chocolate – Pin Me!

The Best Paleo Raw Chocolate - Pin Me!

The Best Paleo Raw Chocolate – Pin Me!

It’s official – it looks like a chocolate bomb went off at The Healthy Patch HQ!

But I’m happy to report that we have easter eggs & choc fudge up to our arm pits! (That sounds a bit yuck… let’s not use the words chocolate & arm pits in the same sentence ever again…deal?)

Whilst I would love to tell you that I have been slaving over a hot stove all day creating this for you – truth is – all these babies are raw, & once you have the recipe, quite easy to make!

So what’s on the Easter Menu this year you ask?

Well – I’ve whipped up some Raw Choc, a ripping choc fudge, as well as some drool worthy chocolate cream filled easter eggs – these are awesome for the kids… or my husband… he’s quite a big kid when it comes to chocolate – oh – and they are all Paleo friendly 😉

So let’s start with a recipe for the paleo raw chocolate, which will be the base to the other recipes.

Here we go 🙂

The-Best-Paleo-Raw-Chocolate

The Best Paleo Raw Chocolate – Pin Me!

The-Best-Paleo-Raw-Chocolate

The Best Paleo Raw Chocolate – Pin Me!

The Best Paleo Raw Chocolate

Ingredients

I cup Raw Cacao

1 Cup Coconut Oil

1/4 Cup Coconut Butter *

2 Tbsp. Manuka Honey

1/4 tsp. Vanilla Bean Powder

* Coconut butter (aka coconut paste) is very dry and crumbly, make sure the 1/4 cup is packed tight!

Method:

Place all ingredients into a high speed blender

Blend on high until silky smooth.

This will make just over 250ml of Chocolate.

If you are just wanting to make plain raw chocolate, pour chocolate into a mould of your choice, refrigerate for a minimum of 2 hours.

Enjoy your raw chocolate!


How easy was that!

Don’t forget to check out our other 2 awesome easter posts here & here 🙂

Any questions, please let me know

Happy Easter!

Crystal XOXO

13 of your favourite Aussie Health Bloggers share their #1 tip to look & feel YOUR BEST! 

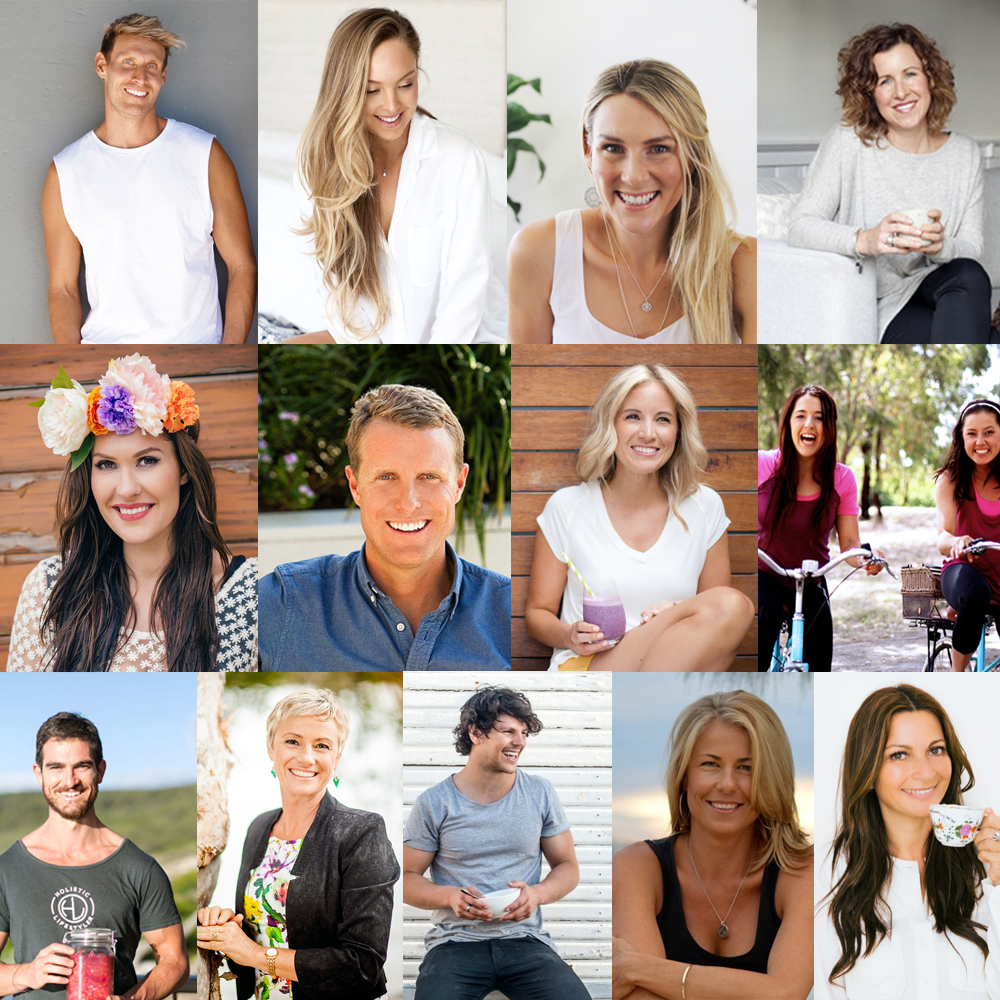
Yep, we’ve asked 13 of Australia’s most popular health bloggers (they are pretty freaking fantastic!) to let us in on their top tip to look & feel your best….

Because let’s face it – we know this will rock your socks just as much as it does ours!

Whether it be so you can have more energy in your day-to-day life… have clearer, brighter skin… fit into those spunky looking jeans over there or just feel more calm & centred – We thought we’d put the call out to see how the wellness rockstars are doing it.

Not surprisingly… each tip compliments each other! …Coincidence? We think not!

Start making some of these small changes in your life & BANG – you’re on your way to a healthier, happier & glowingly gorgeous you!

Okay – you’ve heard enough from us… Let’s get into these power packed tips already!


Tip #1. Jessica Sepel – JS Health

“Stress less! It’s time to put less pressure on yourself – in all areas of your life.
One major way I’ve reduced anxiety in my own life is by switching off once a day.
For at least 30 minutes, I switch off my phone, close the door and take some time for myself.
I might read a book or take a bath, or I’ll go for a walk or meditate.
I believe it’s essential for us to practice this every day to maintain balance.”

Tip #2. Luke Hines

“Balance. A lot of people make wonderful choices with what they eat, but it is really important to remember to celebrate & encourage health and wellness in the other areas of your life.
For me, I believe we can truly be our best selves & function optimally when we find synergy between not only what we eat, but how we move & the way we think.
So be sure to spend equal time celebrating the most nutrient dense foods on the planet, moving your body in a way that you enjoy, & thinking positively & practicing mindfulness.
Having balance enables us to thrive incredibly well and it radiates profoundly into all the other areas in our life.”

Tip #3. Adele McConnell – Vegie Head

Always make choices based on what your body is telling you! We have become so disconnected from our bodies, moods, feelings, cycles and energies, and get caught up in the external.
When we check in with ourselves and ask:
“What do I need right now?”
“What food should I nourish myself with?”
“What will help me get what I need?”
We are always given the answer. Listen close, your body is talking to you.”

Tip #4. Alice Nicholls – The Whole Daily

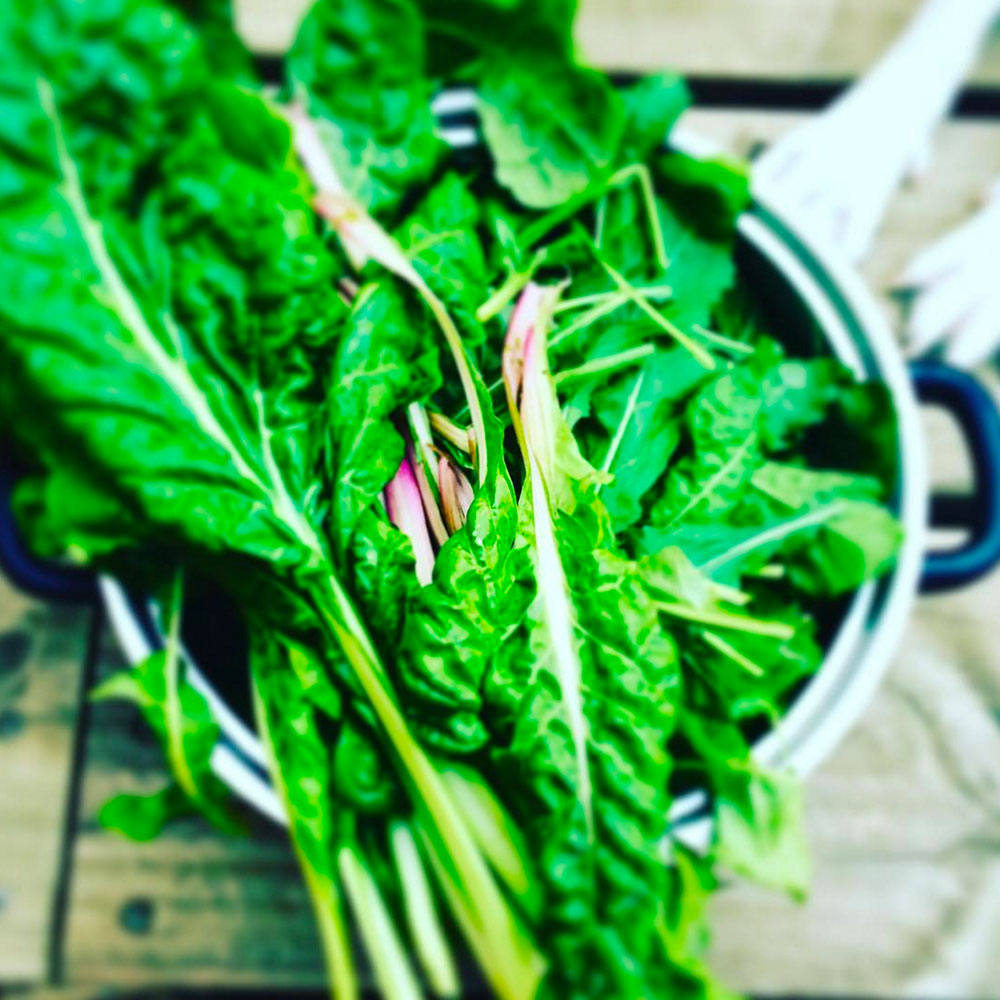
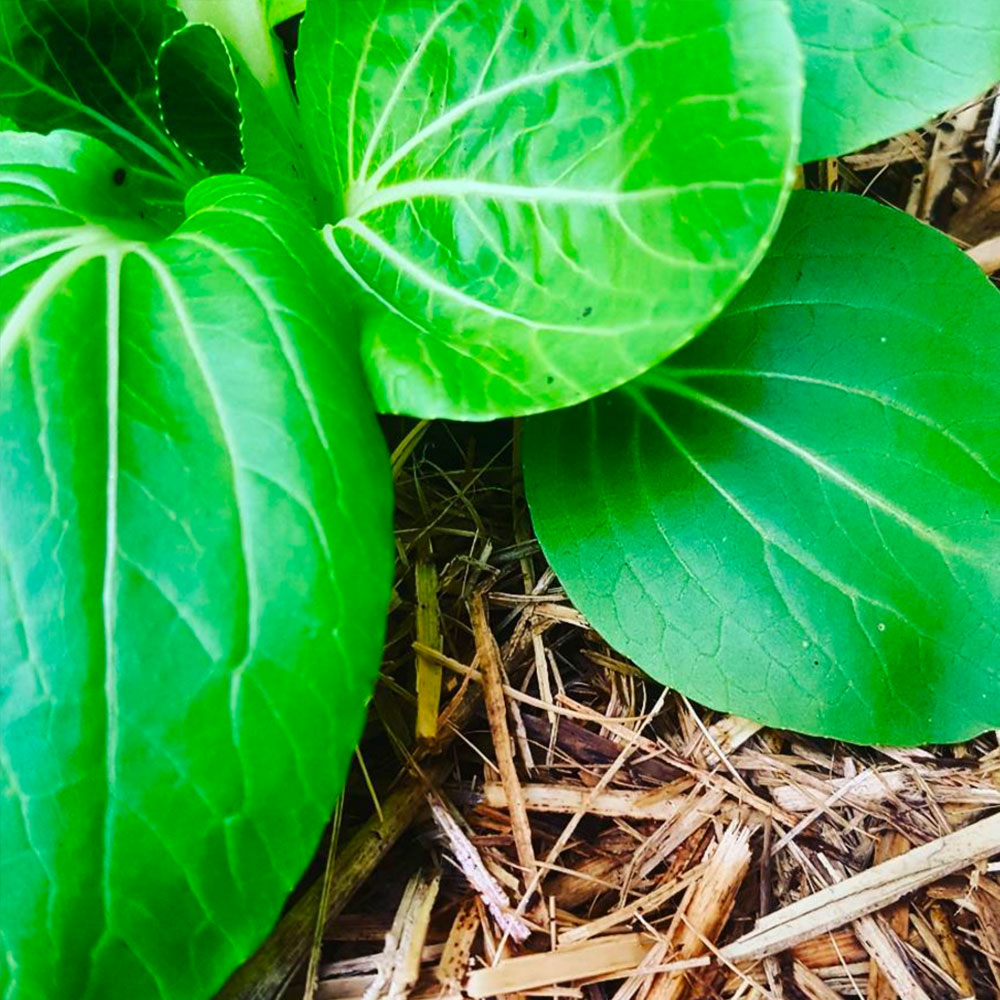
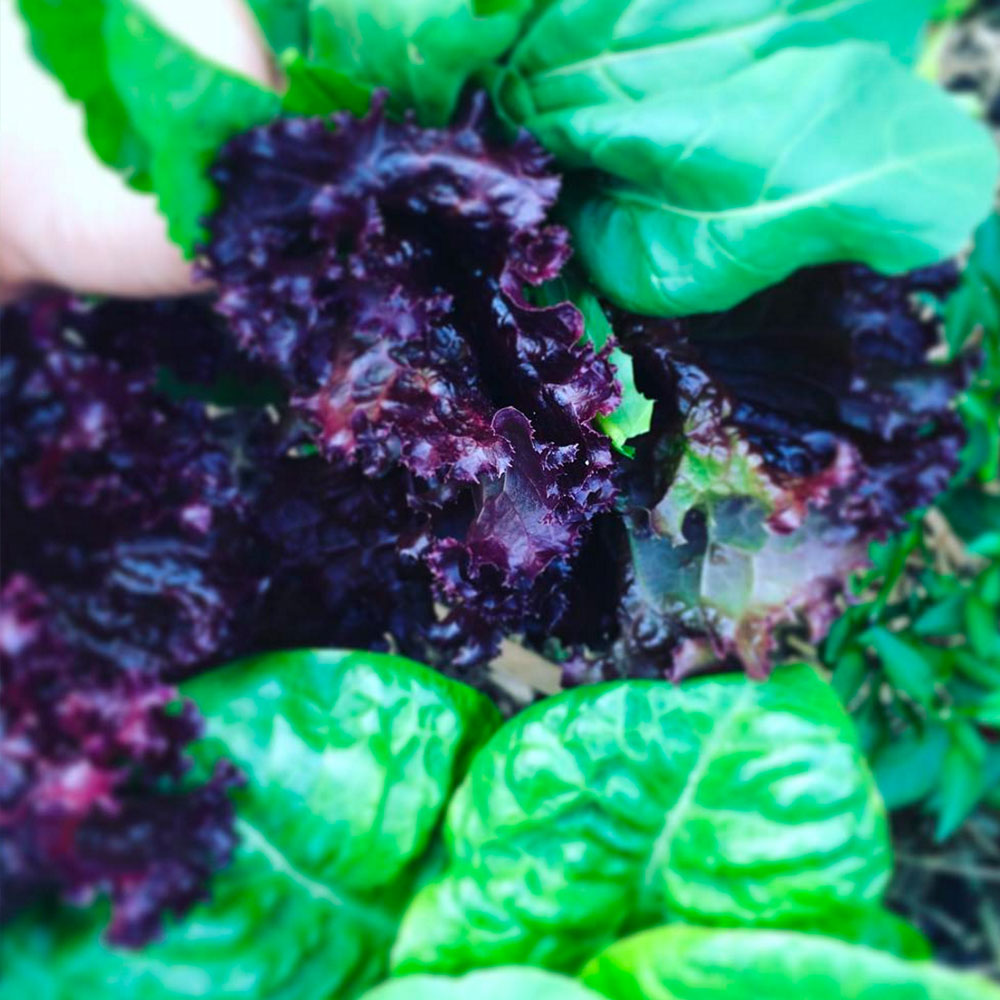
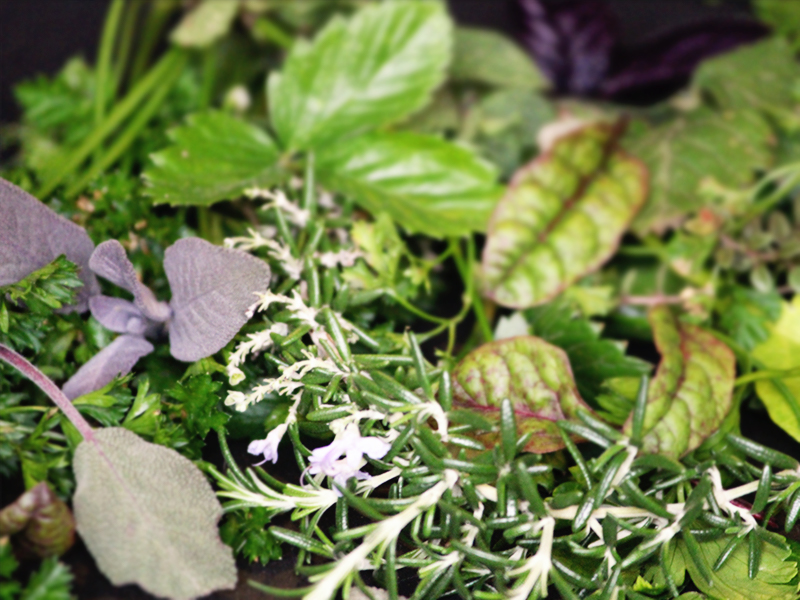
“Get back to mother nature & grow some food for yourself. It doesn’t matter if you live in an apartment or a big house, there are opportunities to connect back with the earth again.
There is nothing like planting a seed and being rewarded by Mother Nature with some care.
From herbs to a full-grown veggie patch, connecting with the circle of life has an emotionally healthy reward – it requires you to be patient – and a physically healthy reward…
Not only is eating anything organic super awesome for your body, but the more you get your hands dirty the healthier your microbiome (your village of bacteria in your gut).
Also, there’s nothing like sitting down for a meal where any component of it is grown by you. Re-wild yourself.”

Tip #5. James Colquhoun – Food Matters

“Get educated! Education, above anything else, helps to shift your beliefs about how the body heals and how to best nourish it depending on where you are and what your goals are for getting healthy.
Education shifts beliefs, beliefs shift actions & the actions you take on a daily basis completely changes the quality of your life!”

Tip #6. Amy Crawford – The Holistic Ingredient

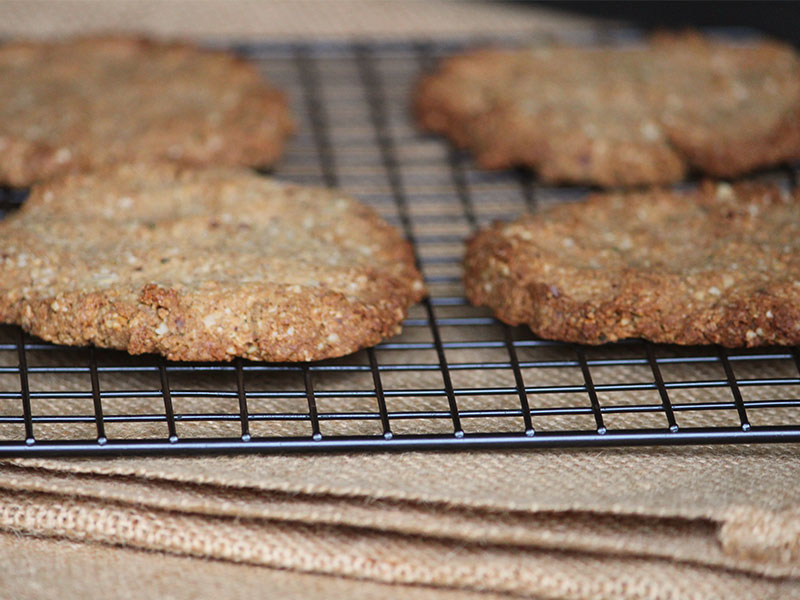
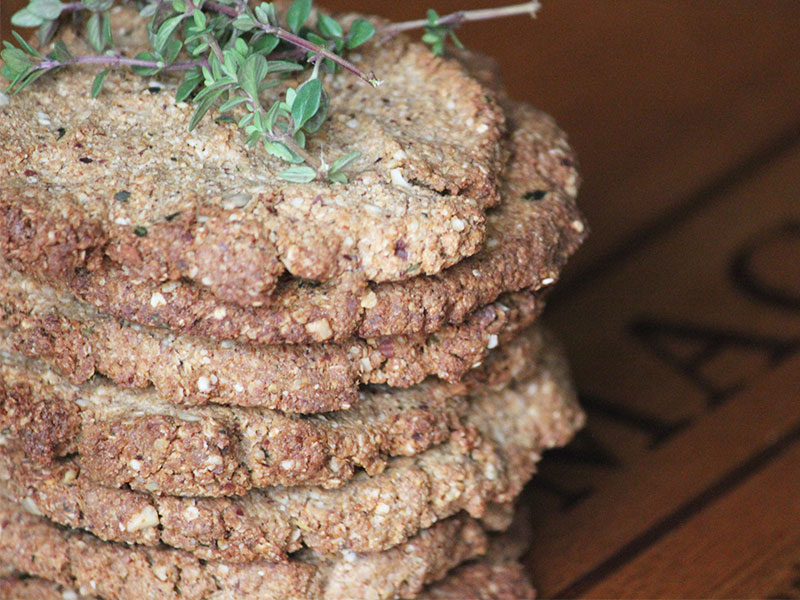
“Simplify your diet. As far as possible buy (or better still, grow) whole foods & eat as nature intended it. Whole foods don’t come with a set of numbers on the back that we don’t understand. They don’t come with hidden additives, chemicals & a low nutrient value as a result of over processing. Whole foods are perfectly designed to heal our bodies, quite unlike the pill you’ll find at the bottom of a pill bottle. Disease goes away as a byproduct of getting healthy. Feed your body the goodness it deserves.”

Tip #7. Cyndi O’Meara – Changing Habits

“Go back to culture and tradition. Due to my interest in health, I’ve always loved traditional foods.
Because my mum was from both American and German heritage, sauerkraut and pickles were foods that we had a lot of growing up.
My mother used to put a pot of stock on after every meal with the leftover bones.
She would freeze the stock & then use it for the base of most of her recipes – but little did we know then that her ferments & broths were keeping us out of the doctor’s office.
I’ve noticed as each generation passes they’re getting sicker and sicker as their own microbiomes are being decimating from things such as antibiotic overuse, herbicides, chemicals consumed from food and water, environmental toxins, chronic stress as well as the highly refined foods laced with many dubious ingredients like preservatives, colours and flavours. Being aware of the problem is the first step.
Fixing the problem is easy for some, but for others it is going to take a lot of work to get back the health of their microbiome.
The fermentation of foods and liquids increases nutrition and digestibility & allows access to many nutrients that are sometimes locked up in the food without this process.
If we just learn from our culture and tradition and do what our ancestors did in order to survive millions of years, we just might be able to help future generations.”

Tip #8. Emma & Carla Papas – The Merry Maker Sisters

“Decide to ONLY nourish your body with real food that is also delicious & super fun…
Enjoy the shopping, the cooking, the eating (duh!) and even the cleaning!
You’ll never feel restricted or as if you’re on a diet!
We’d call it bringing a little merry into every bite!”

Tip #9. Dan Churchill

“When it comes to looking and feeling great one of the biggest principles I’m a massive fan of is doing what you love… You are more likely to fulfill every day with excitement passion and serious tastiness 🙂
You will succeed as you will want to get up every day and do what it is you want to and your mindset will be super happy and clear.
It is a wicked long term approach that extends the notion that your happiness is the key to your health”

Tip #10. Georgia Harding – Well Nourished

“I believe that the intricacies of  the way we eat seem to have become the big picture & a source of stress for so many (which really defeats the purpose).
If you’re simply able to enjoy delicious home cooked meals made from fresh, seasonal and local produce, relax a little and move your body regularly; I think you’re in a pretty good place.”

Tip #11. Dr Jeremy Princi – The Holistic Lifestyler

“Fermented Foods. Fermentation is essentially the continuation of the natural process of organic farming- what’s largely not visible to the naked eye – all the microorganisms symbiotically doing their magic in the soil to produce the nutrient dense produce. All we are doing is uprooting the vegetables, putting them in a specific environment to allow the microorganisms to once again work their magic & transform them into a preserved raw probiotic & nutrient dense superfood we call fermented foods 🙂
Good quality fermented foods starts with good quality organic/biodynamic produce.”

Tip #12. Zara D’Cotta – Oh My Goodness 

“Meditate. I’m amazed at what a difference having a consistent (twice) daily practice is making to so many areas of my life – from sleeping better, to feeling calmer, more energised, & resilient to stress. It also helps me gain clarity on things I need to address or eliminate.
The key to making this a regular practice has been realising there’s no such thing as a bad meditation – it’s making the time to do it that counts, & that it’s natural for the mind to wonder.”

We also managed to get a sneaky last minute tip from Lee Holmes while she was in lock down writing her next book (thanks Lee!)

Tip #13. Lee Holmes – Supercharged Food

“Eat according to your own needs & make sure to include yoga or meditation into your day! – Super important!”

Oh…
& an even sneakier bonus tip from A-dog Alice just because we love her so much 😉

Tip # 14 . Alice Nicholls

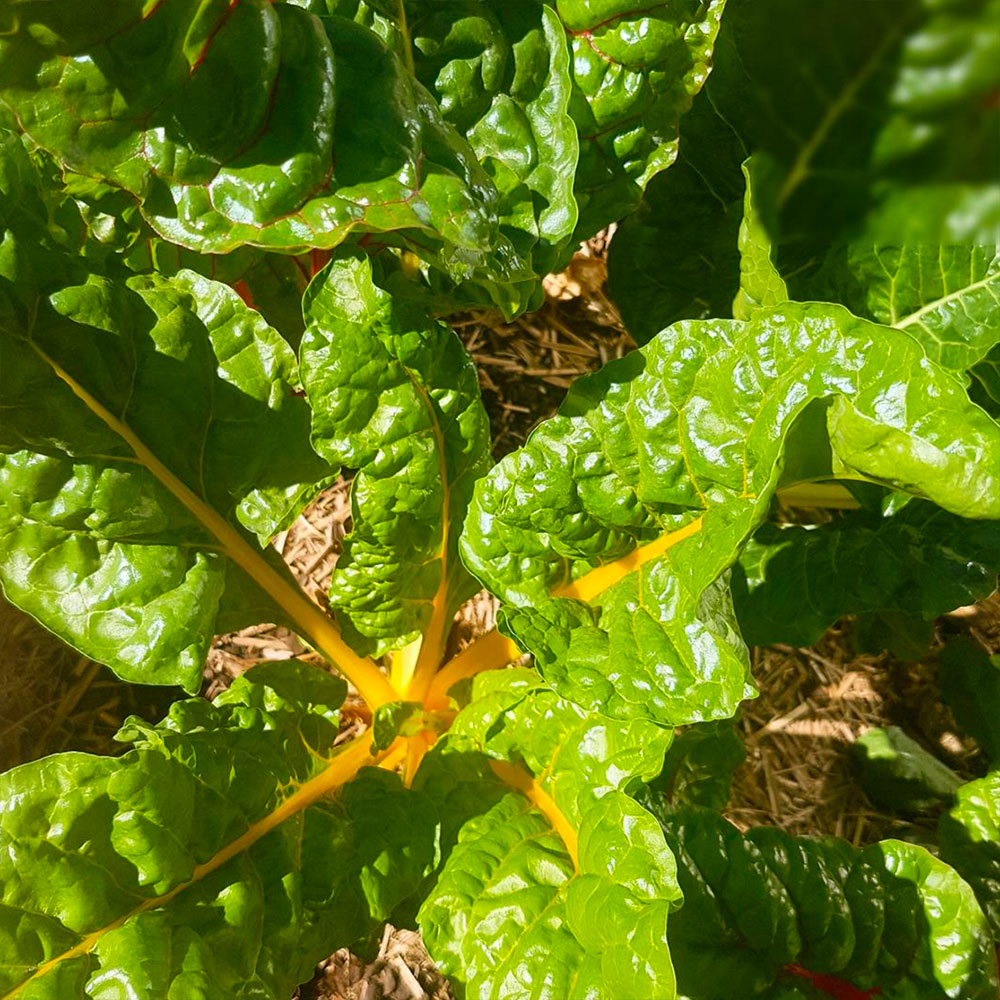
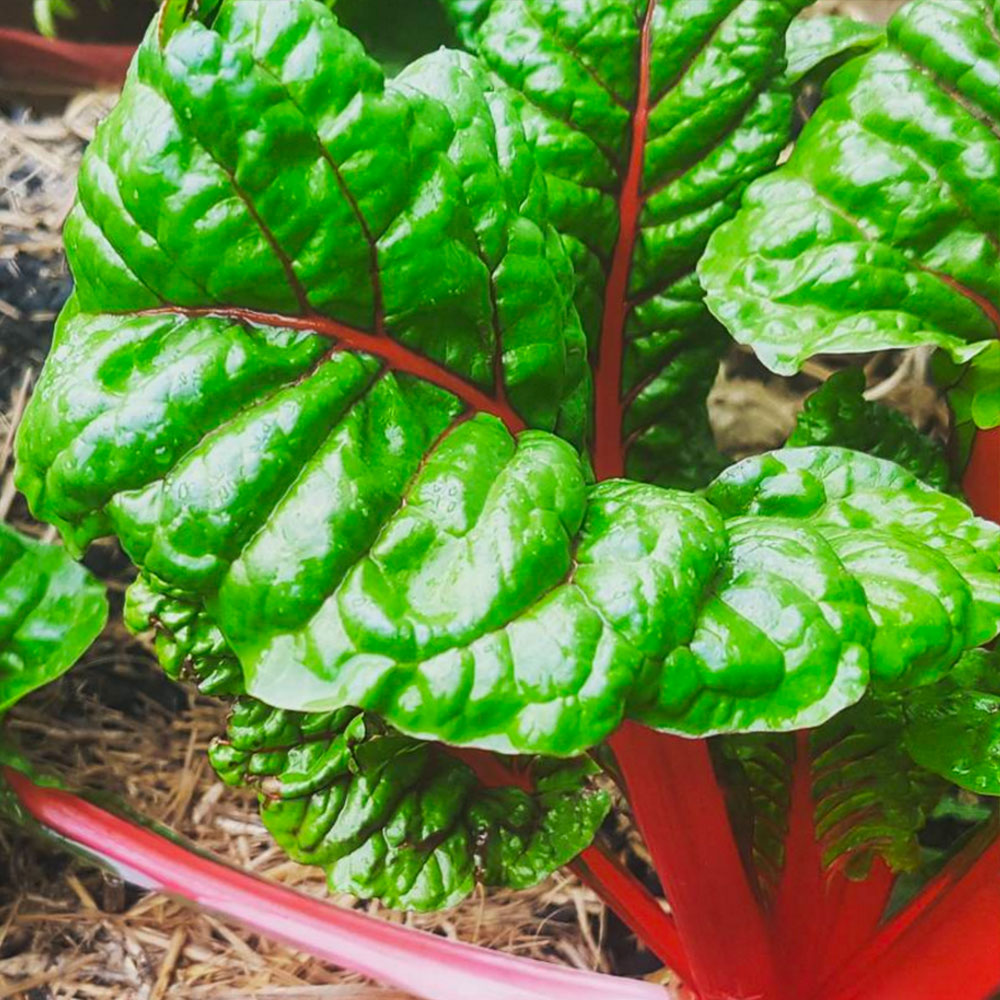
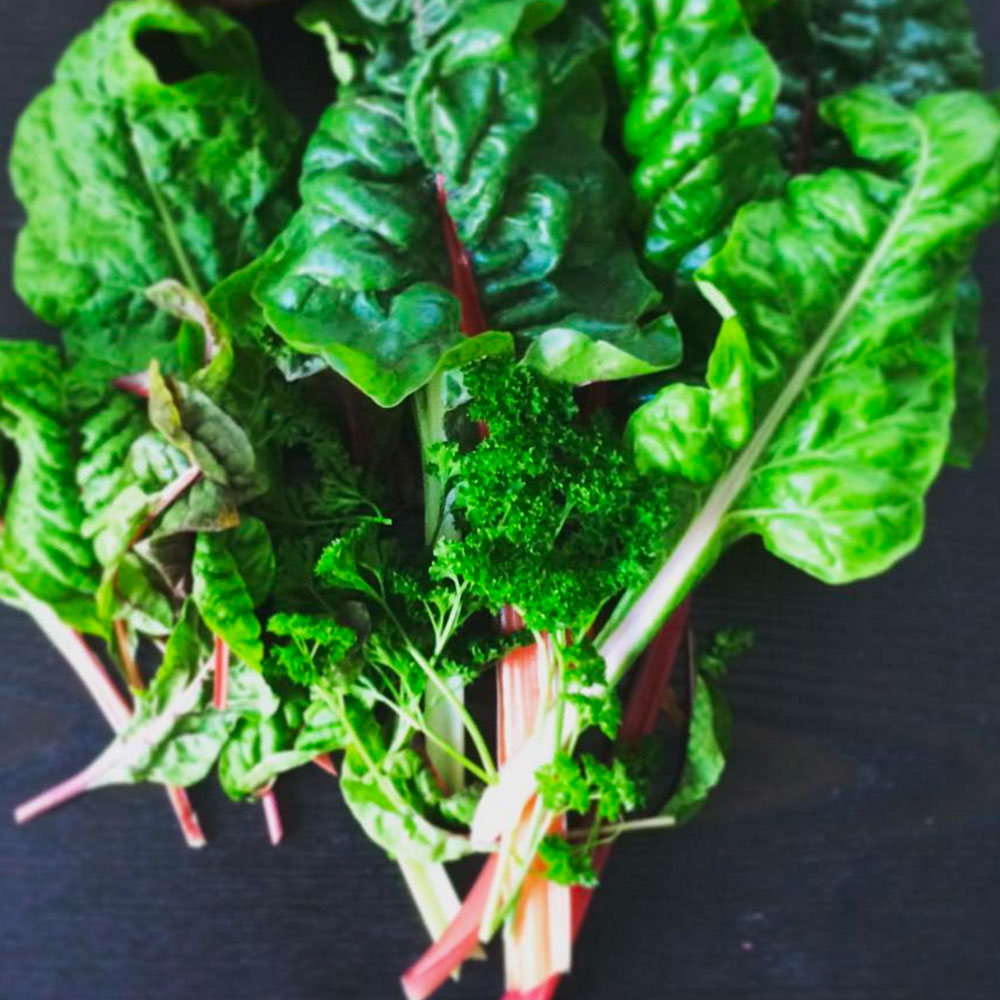
“Eat the rainbow (as long as it’s real food!).
It seems so simple, but really, if you eat rainbow-range whole natural foods like fruits and veg and herbs, nuts and seeds, free-range, organic or grass-fed animal products (if you’re so inclined) and imbibe in water when you’re thirsty, then you’re going to be setting yourself up for good health.
Different colour fruits and veg have different nutrients.  A great, balanced meal has multiple colours and eating the rainbow allows you to get a balance of nutrients that you need to thrive.”


There you have it – The experts have spoken!

14 power packed tips that can help you look & feel your best every day.

Any other tips that you swear by that you’d like to share with us? Let us know in the comments below!

Think these tips might be of benefit to someone you know – we would love you to share it with them!

And on the note of good health – We’re off to make a jar of fermented sauerkraut 😉

Have a great week!

Anth & Crystal 

< 3 / 3>

So, so thankful to Crystal & Anth... What a brilliantly done, much needed business these two incredible health ambassadors have created.

Pete Evans
Chef, Author, TV Presenter

Keep your carrot fuelled eyes peeled for what Anth & Crystal have to share. They're passion & knowledge is helping to make both humans and the planet happier and better nourished. So thankful for all that they do!

Dr Libby Weaver
Nutritional Biochemist, Author, Speaker

Anth and Crystal are helping all of us be better humans through outstanding nutrition that grows before our eyes and for that I’m so grateful!

Dr Nat Kringoudis
Doctor of TCM, Author, Speaker

If you're looking for some fuss-free inspiration to live a healthier life, let Anth & Crystal lead the way. Their awesome combination of passion, vibrancy and knowledge will have you fuelling your body in the very best way, just as nature intended.

Amy Crawford
Founder of The Holistic Ingredient, CTC Master Therapist

Crystal and Anth are true health warriors… they walk their talk and share their knowledge freely!

Adele McConnell
Founder of Vegiehead, Author, Chef

CONNECT WITH US